Google Play Console is only accessible to registered Google Play Developer
accounts. Make sure you have an active account ($25 one-time fee) before
proceeding.
Prerequisites
Before you begin, ensure you have:- A Google Play Developer account ($25 one-time fee)
- Your app created in the Google Play Console
- Completed the app setup in the Google Play Console
- Accepted the Play Console developer agreement
In-App Products Setup
Creating In-App Products
Navigate to the Play Console and select your app. In the left sidebar, find “Monetize” and then “Products”. Click the “In-app products” button and then click the “Create product” button to begin setting up a new in-app purchase: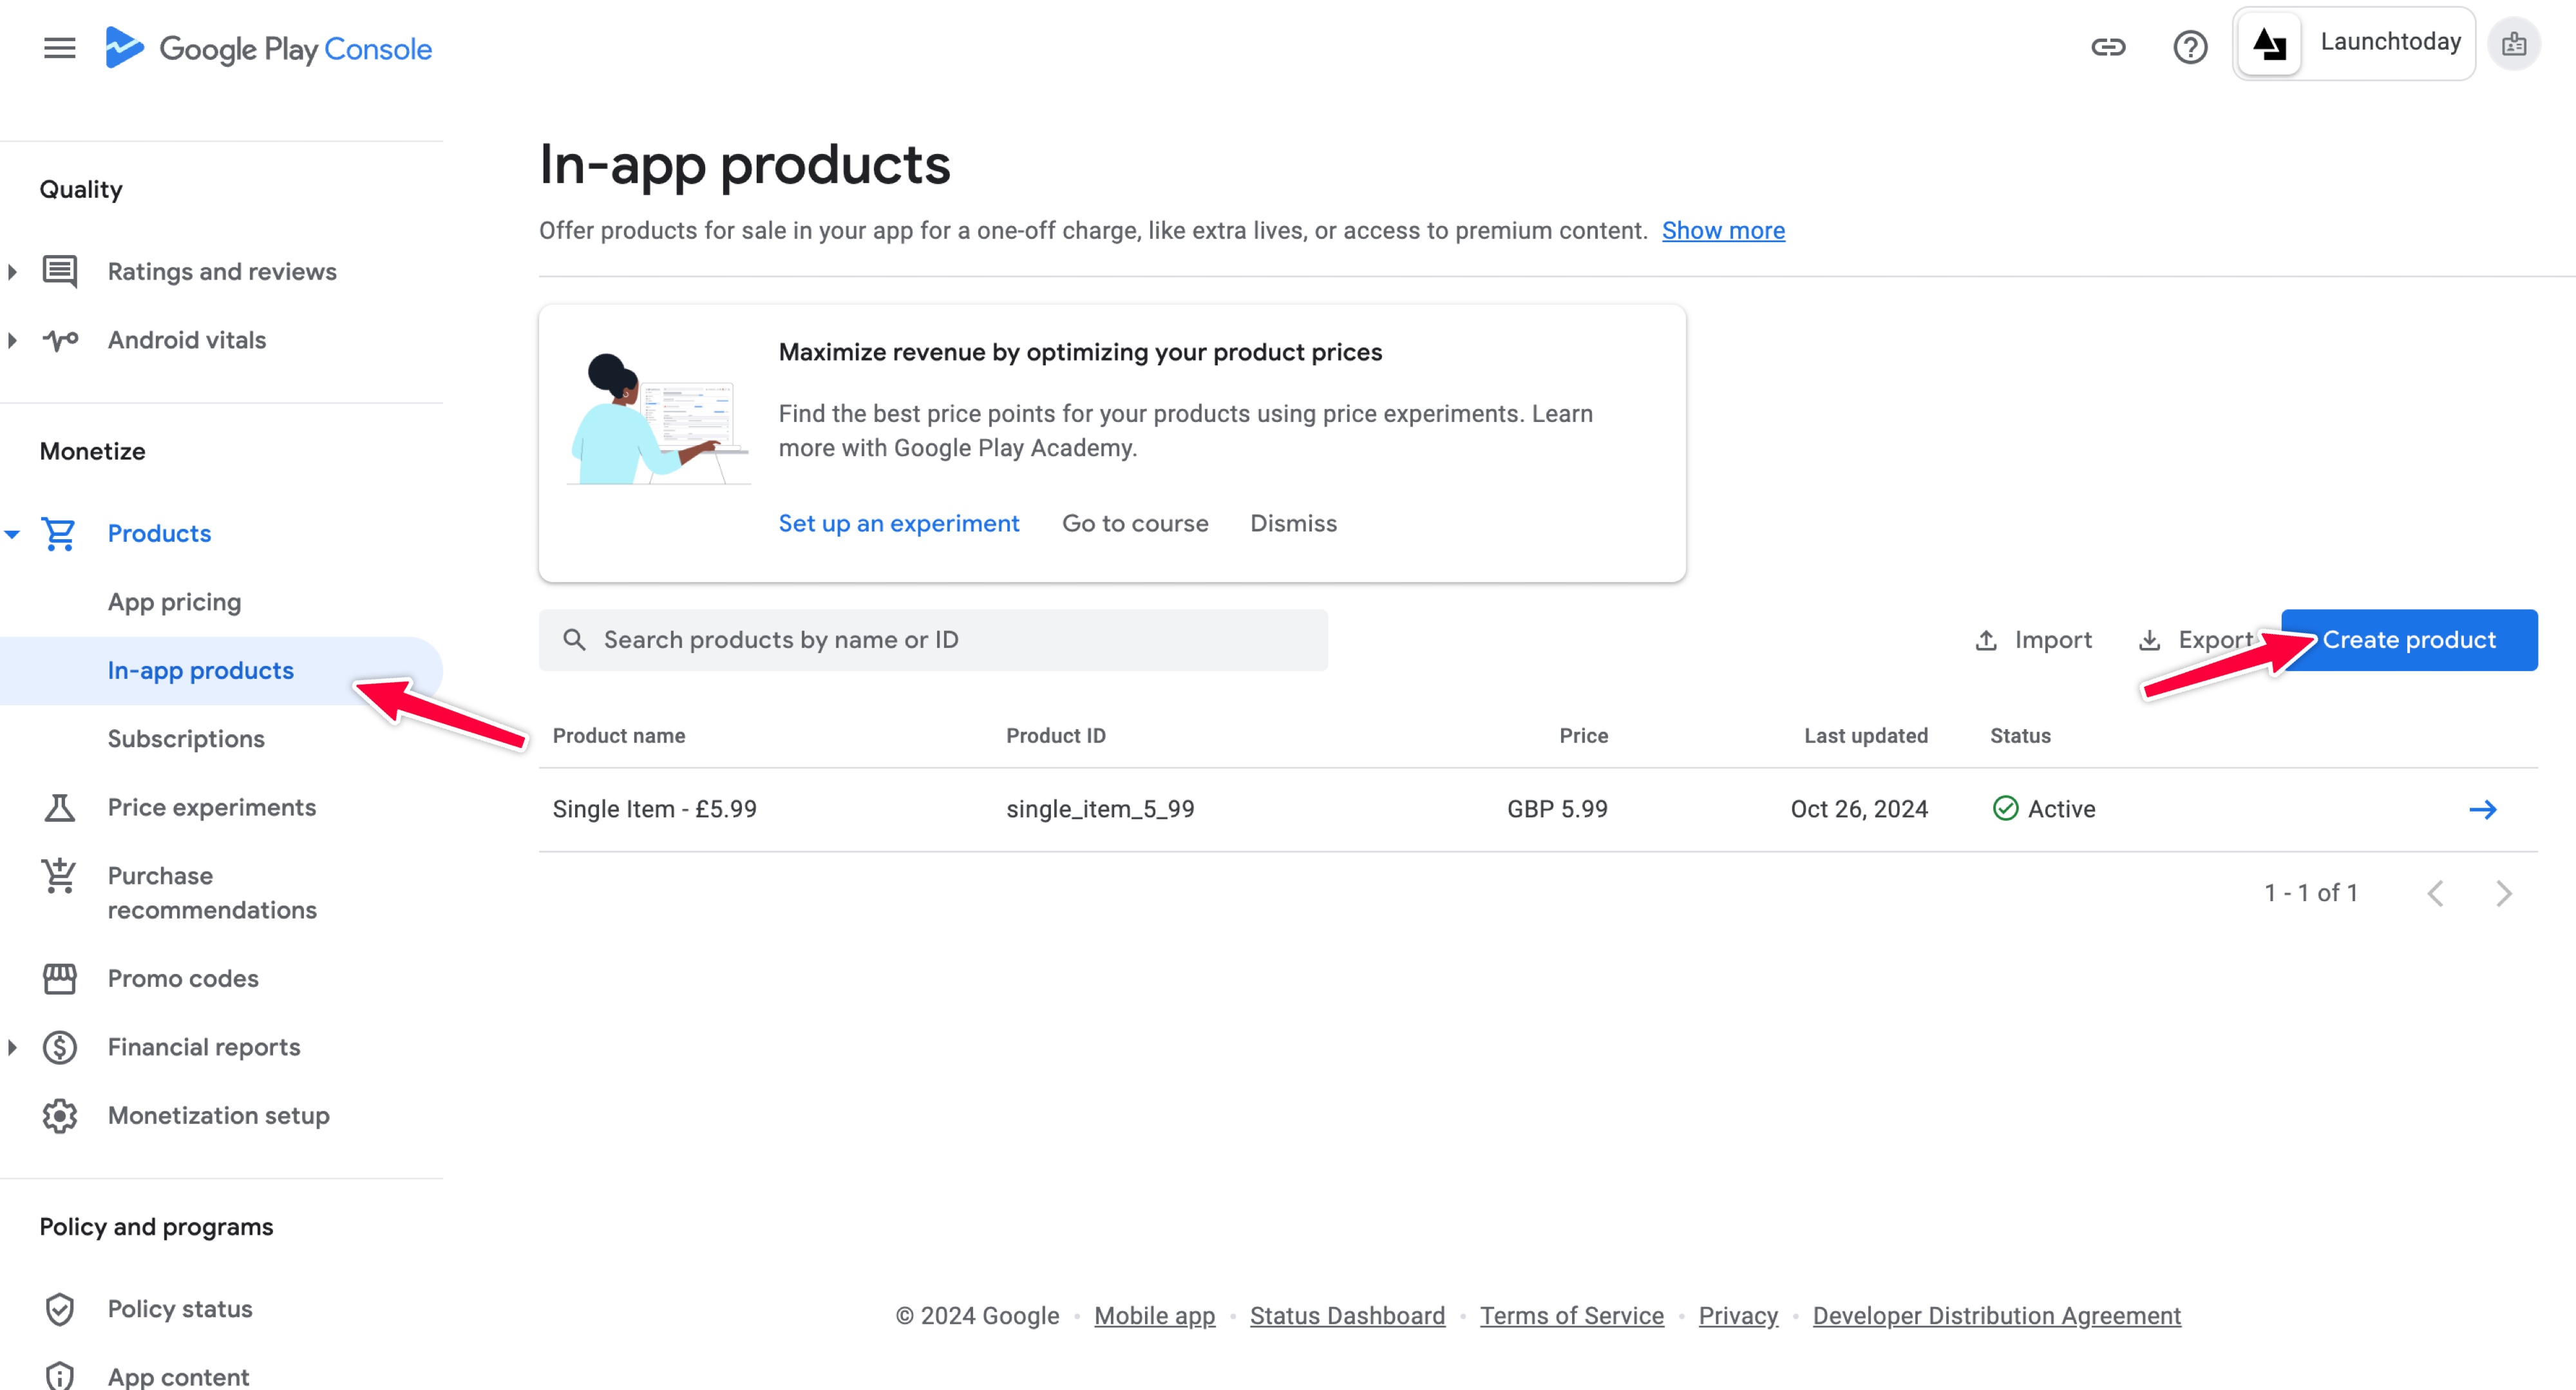
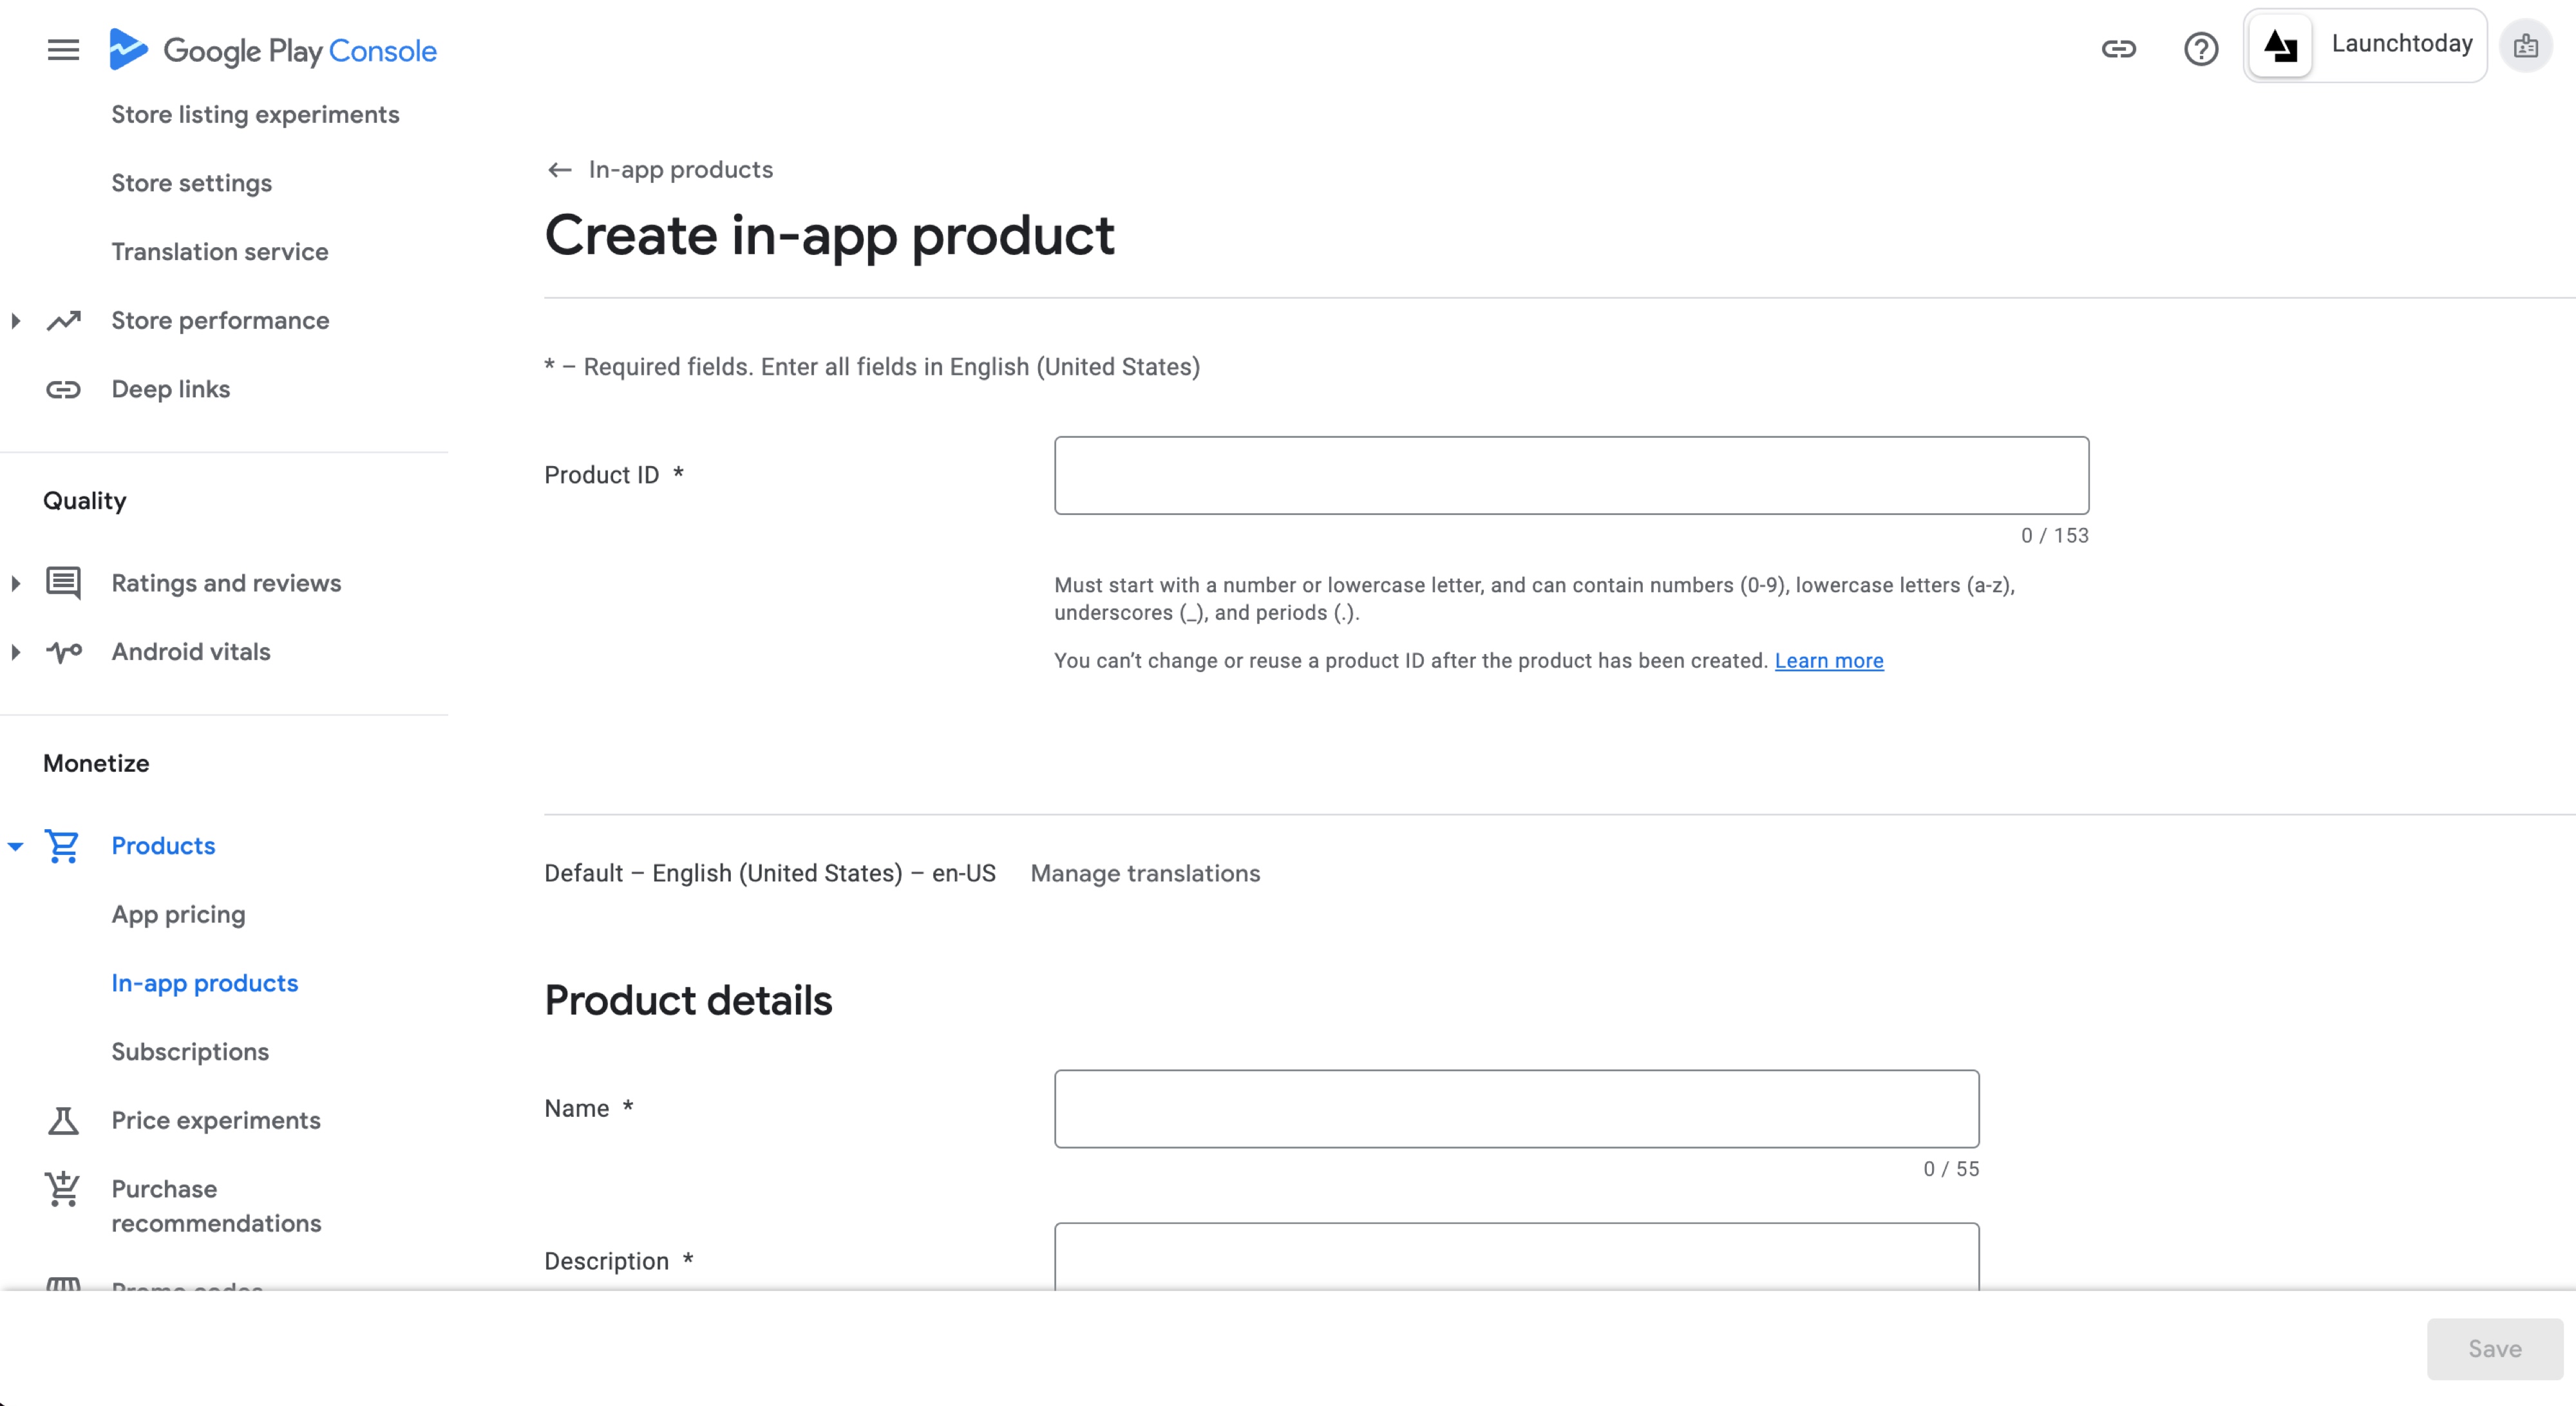 When creating the product, you’ll need to configure the following:
- Product ID: Choose a unique identifier for your product. Following best practices, include the price in the ID (e.g., “premium_upgrade_499” for a $4.99 purchase)
-
Product Details: Configure the following:
- Product name: A clear, user-facing title that describes your product
- Product description: Detailed explanation of what users get with their purchase
-
Pricing: Configure the following:
- Base price: Set your default price in your primary currency. Depending on your pricing strategy, you may want to check the “Allow users to purchase more than 1 of this product in a single transaction” option.
- Tax compliance programs: Configure tax settings and compliance requirements
-
Basic Details:
- Product ID (e.g., “coins_pack_999”)
- Product name (displayed to users)
- Description of the product
- Status (active/inactive)
-
Pricing:
- Set your base price
- Configure regional pricing
- Optional: Set up pricing templates
-
Availability:
- Choose which countries can access the product
- Set publication status
Subscription Setup
Creating Subscription Products
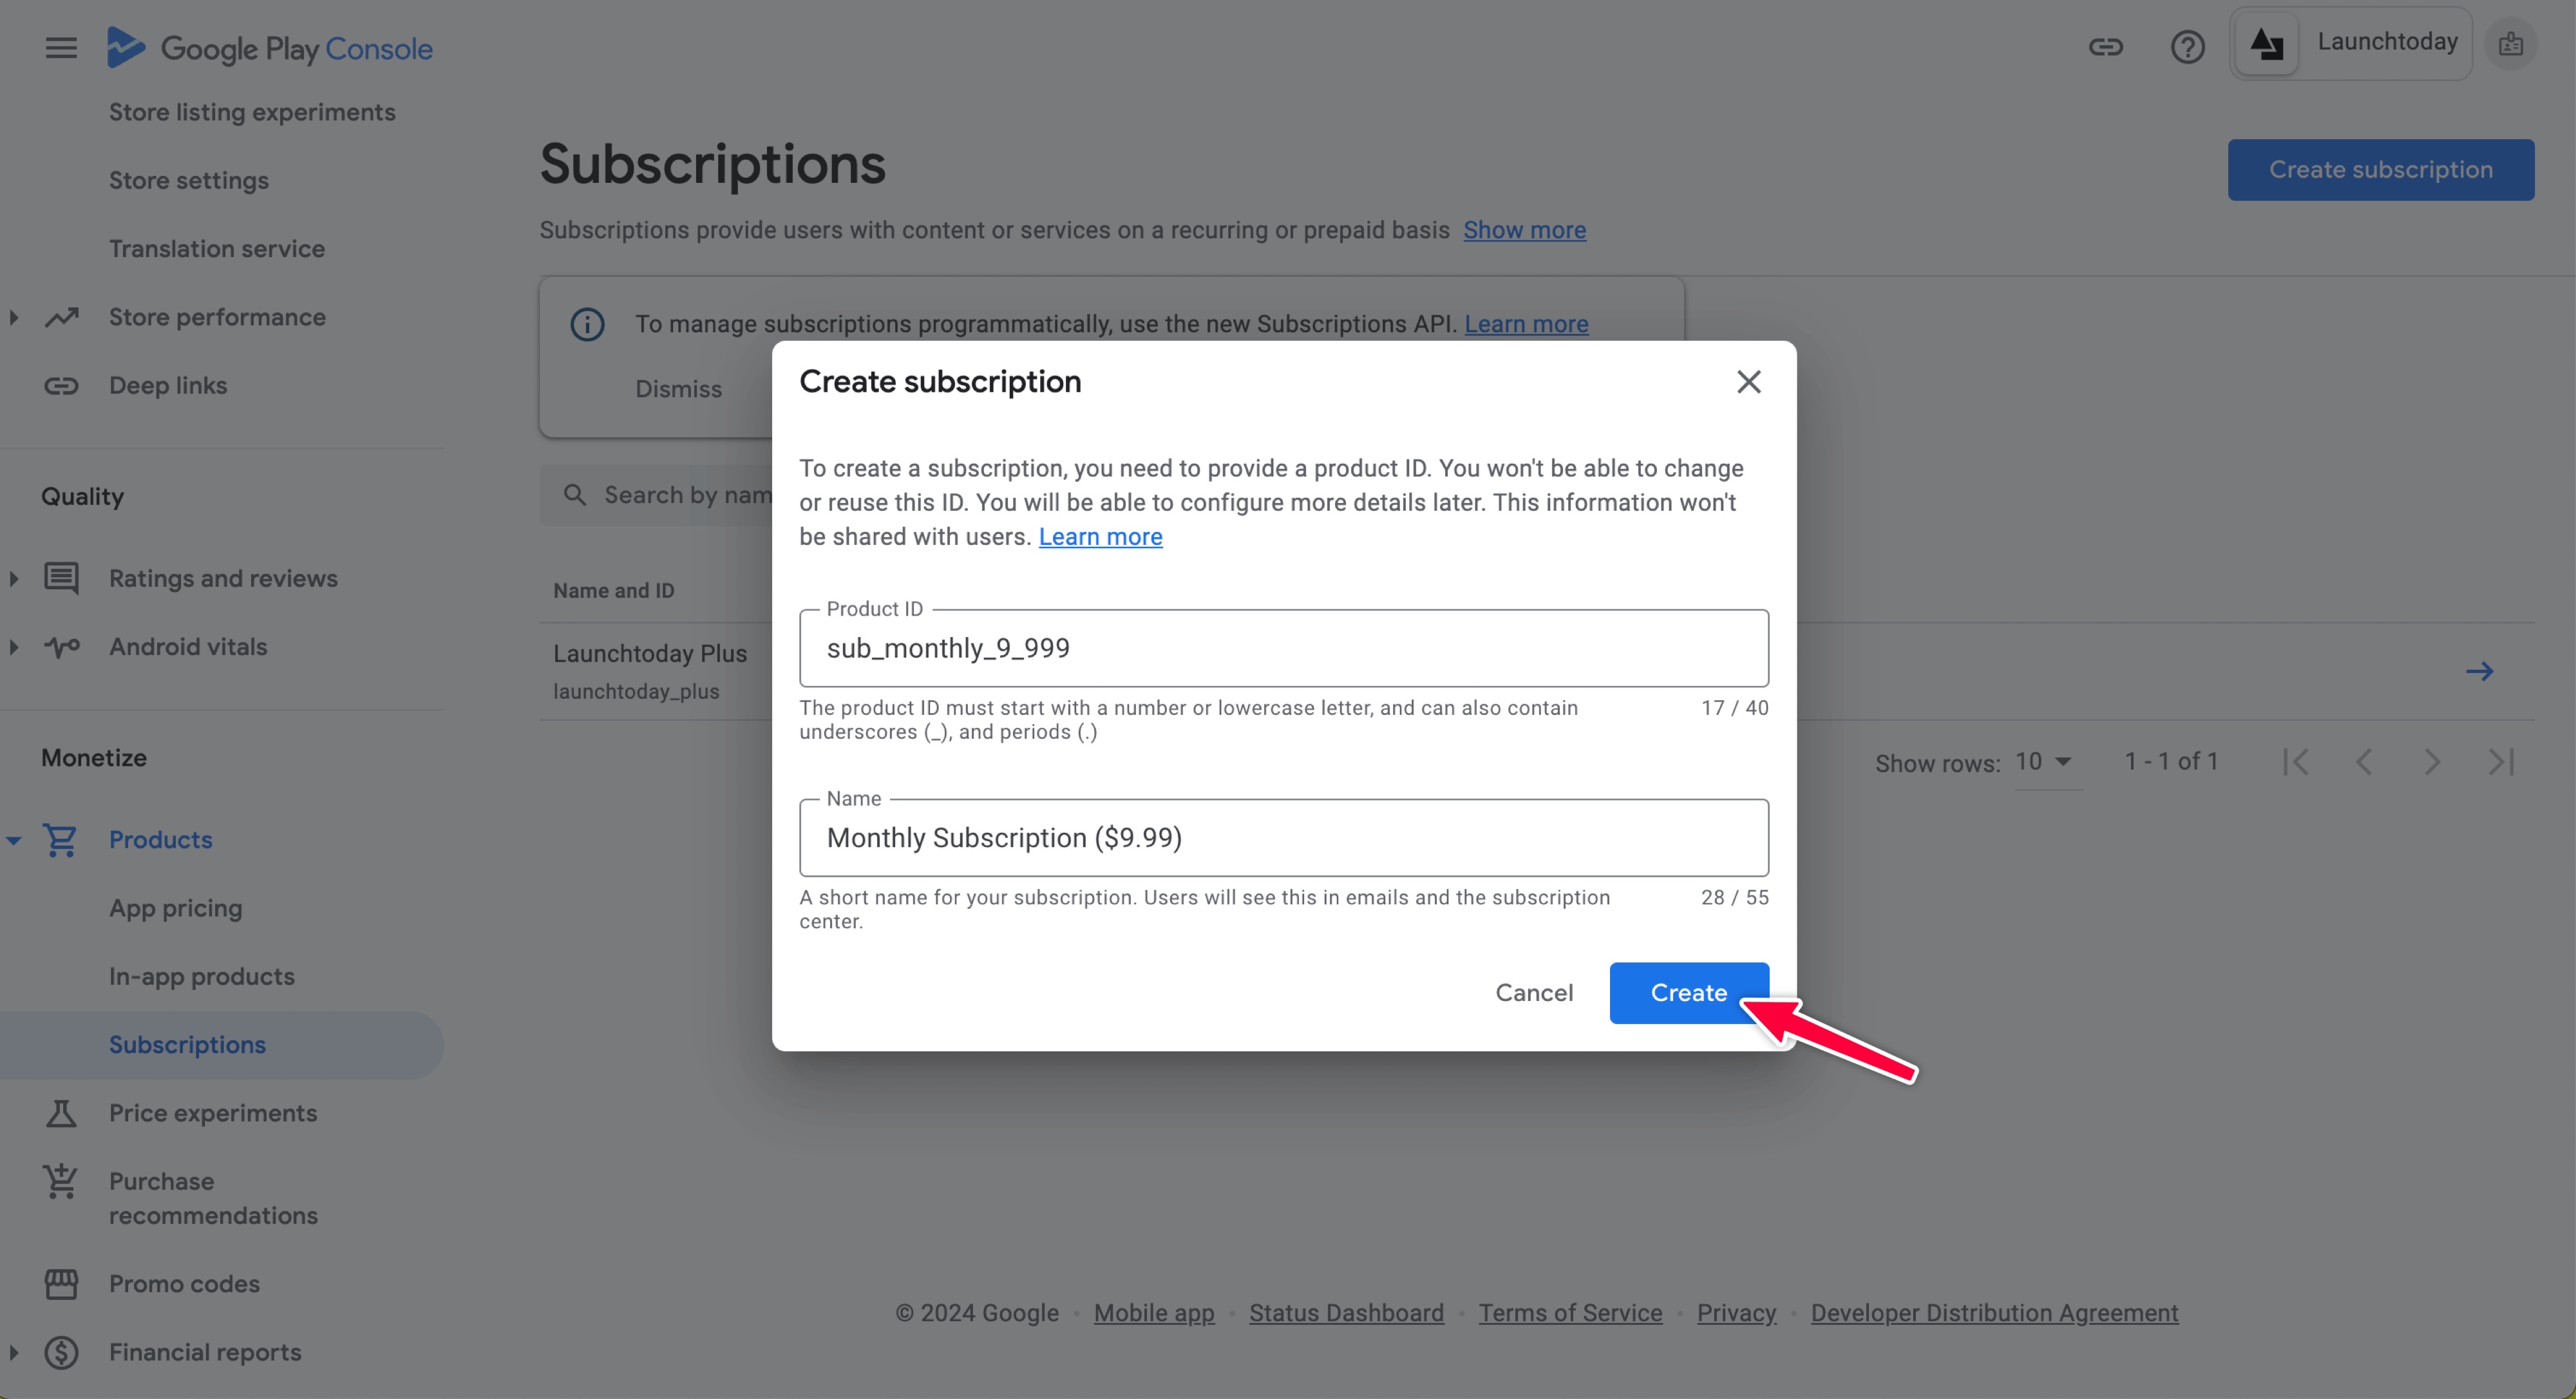
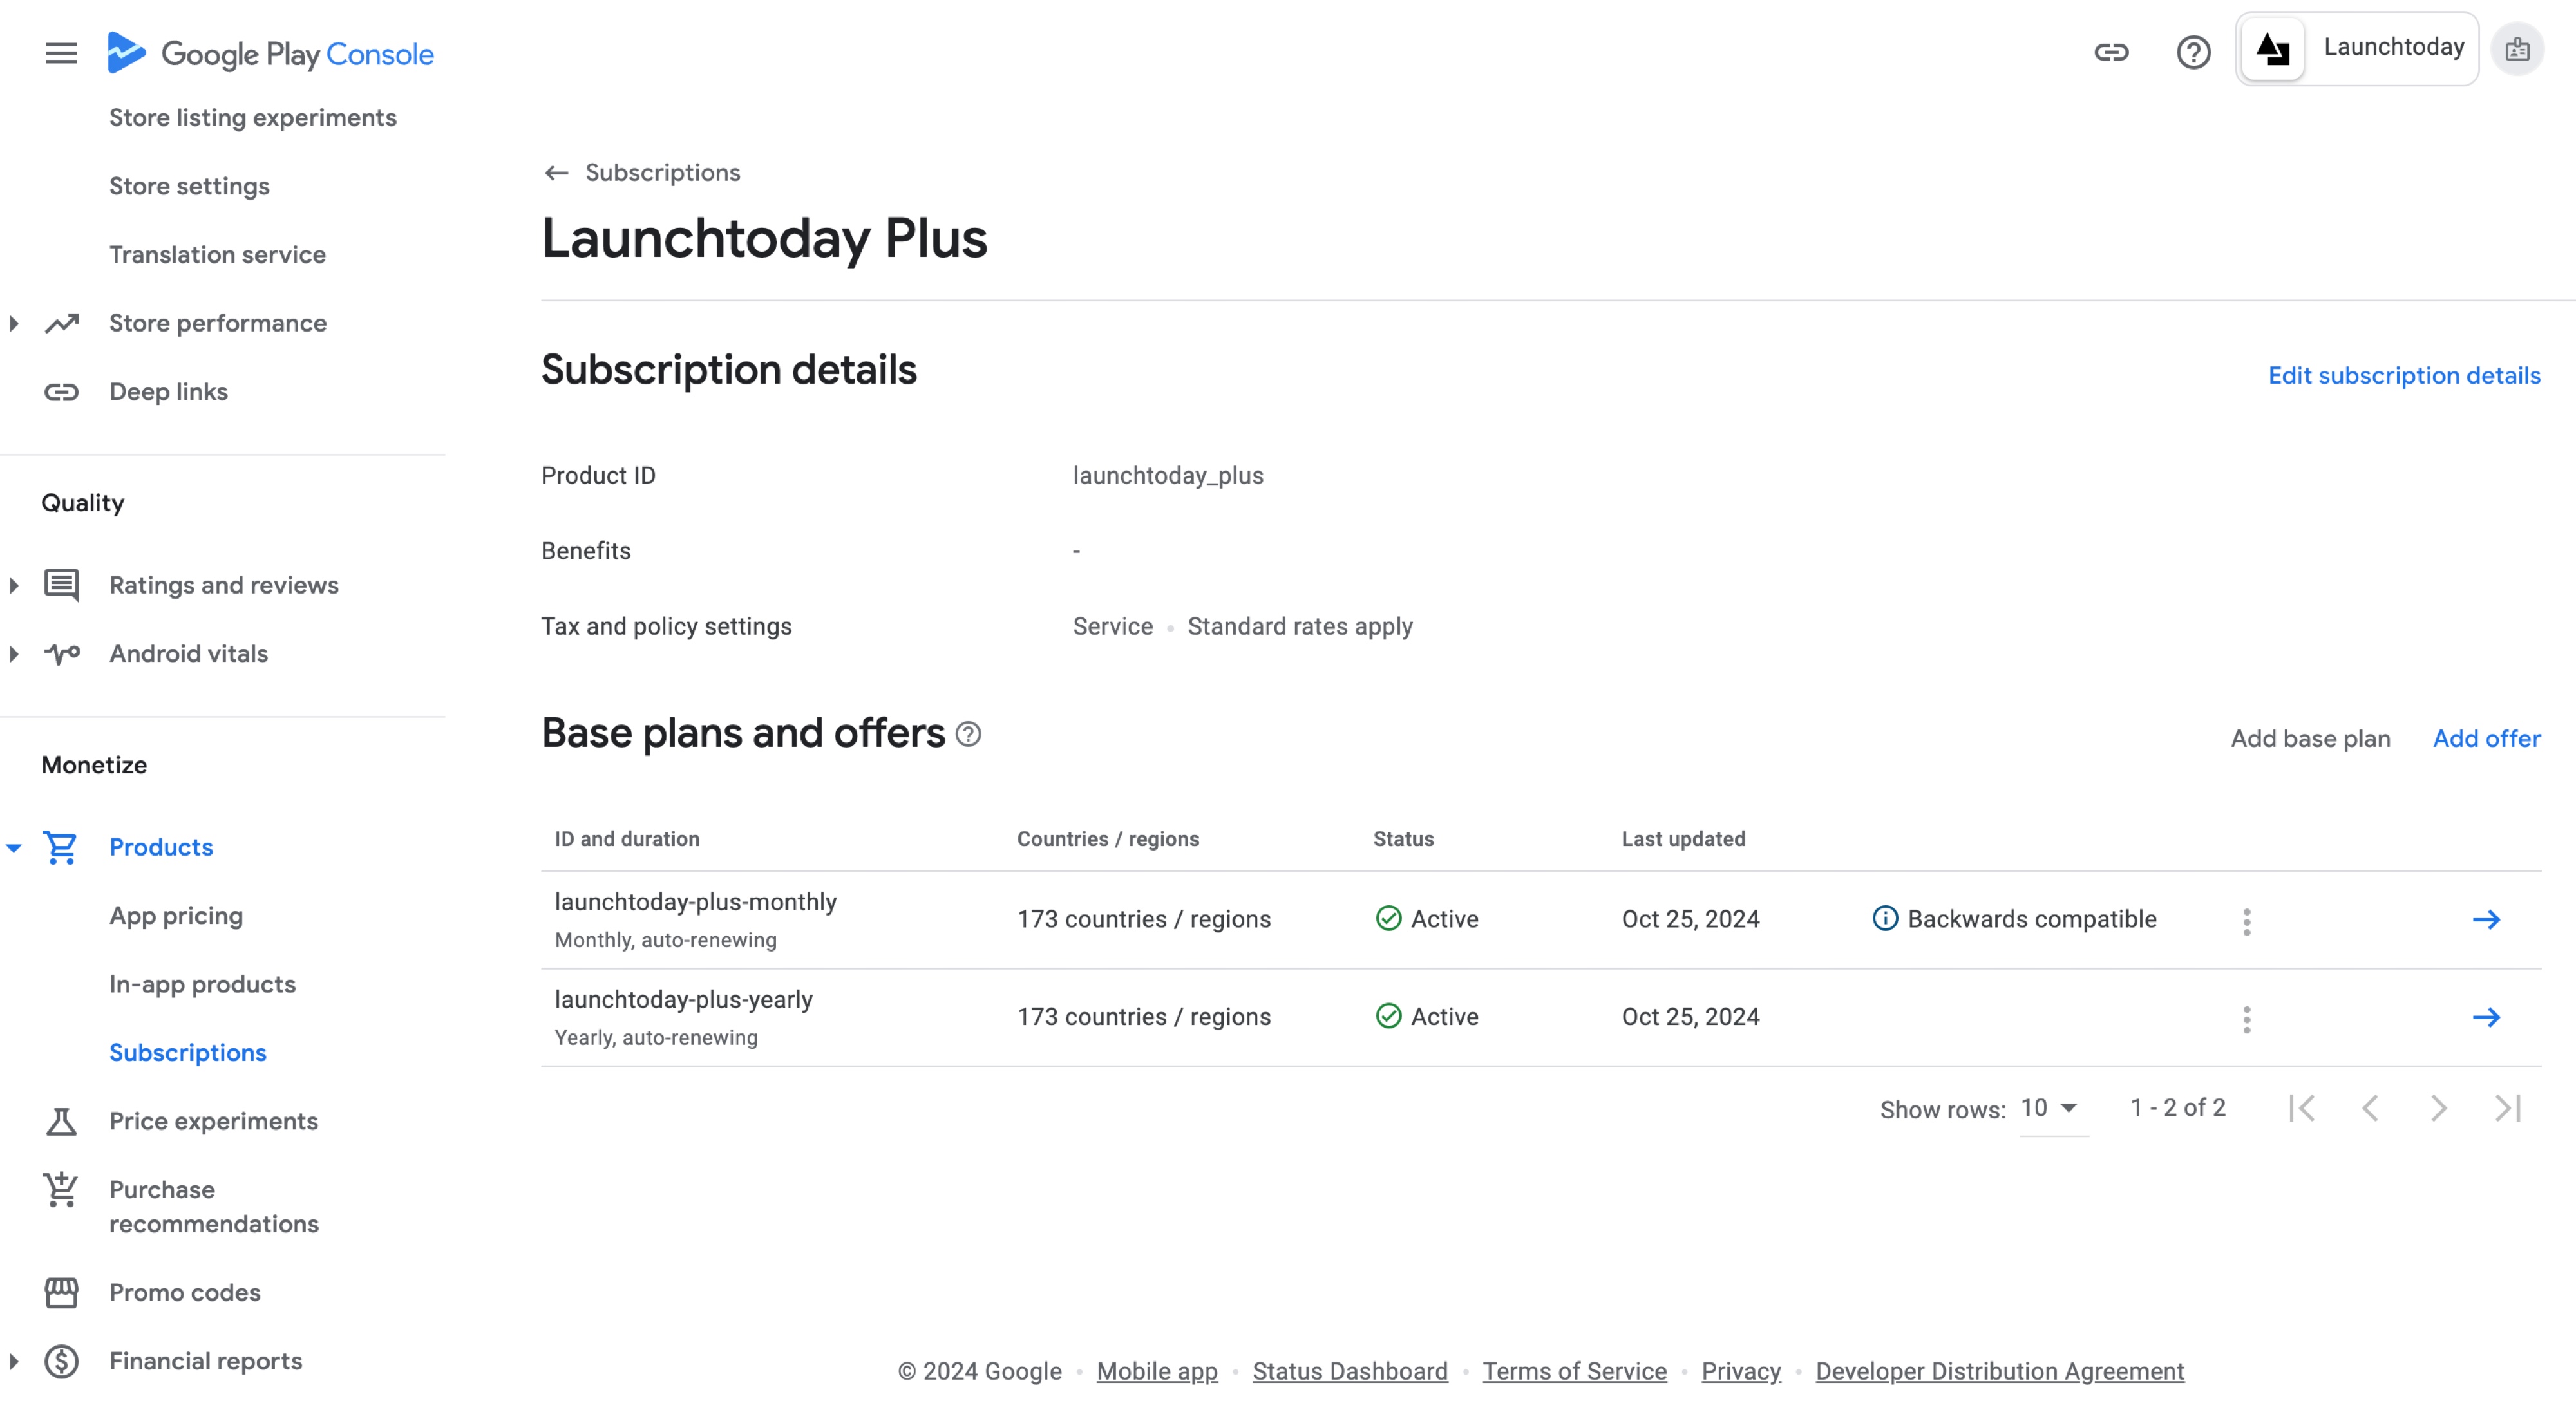
To set up subscriptions, navigate to “Monetize” > “Subscriptions” in the Play Console. Click “Create subscription” to begin. You will be promoted to provide a Product ID (e.g. sub_monthly_9_99) and Name (e.g Monthly Subscription ($9.99)) for your subscription: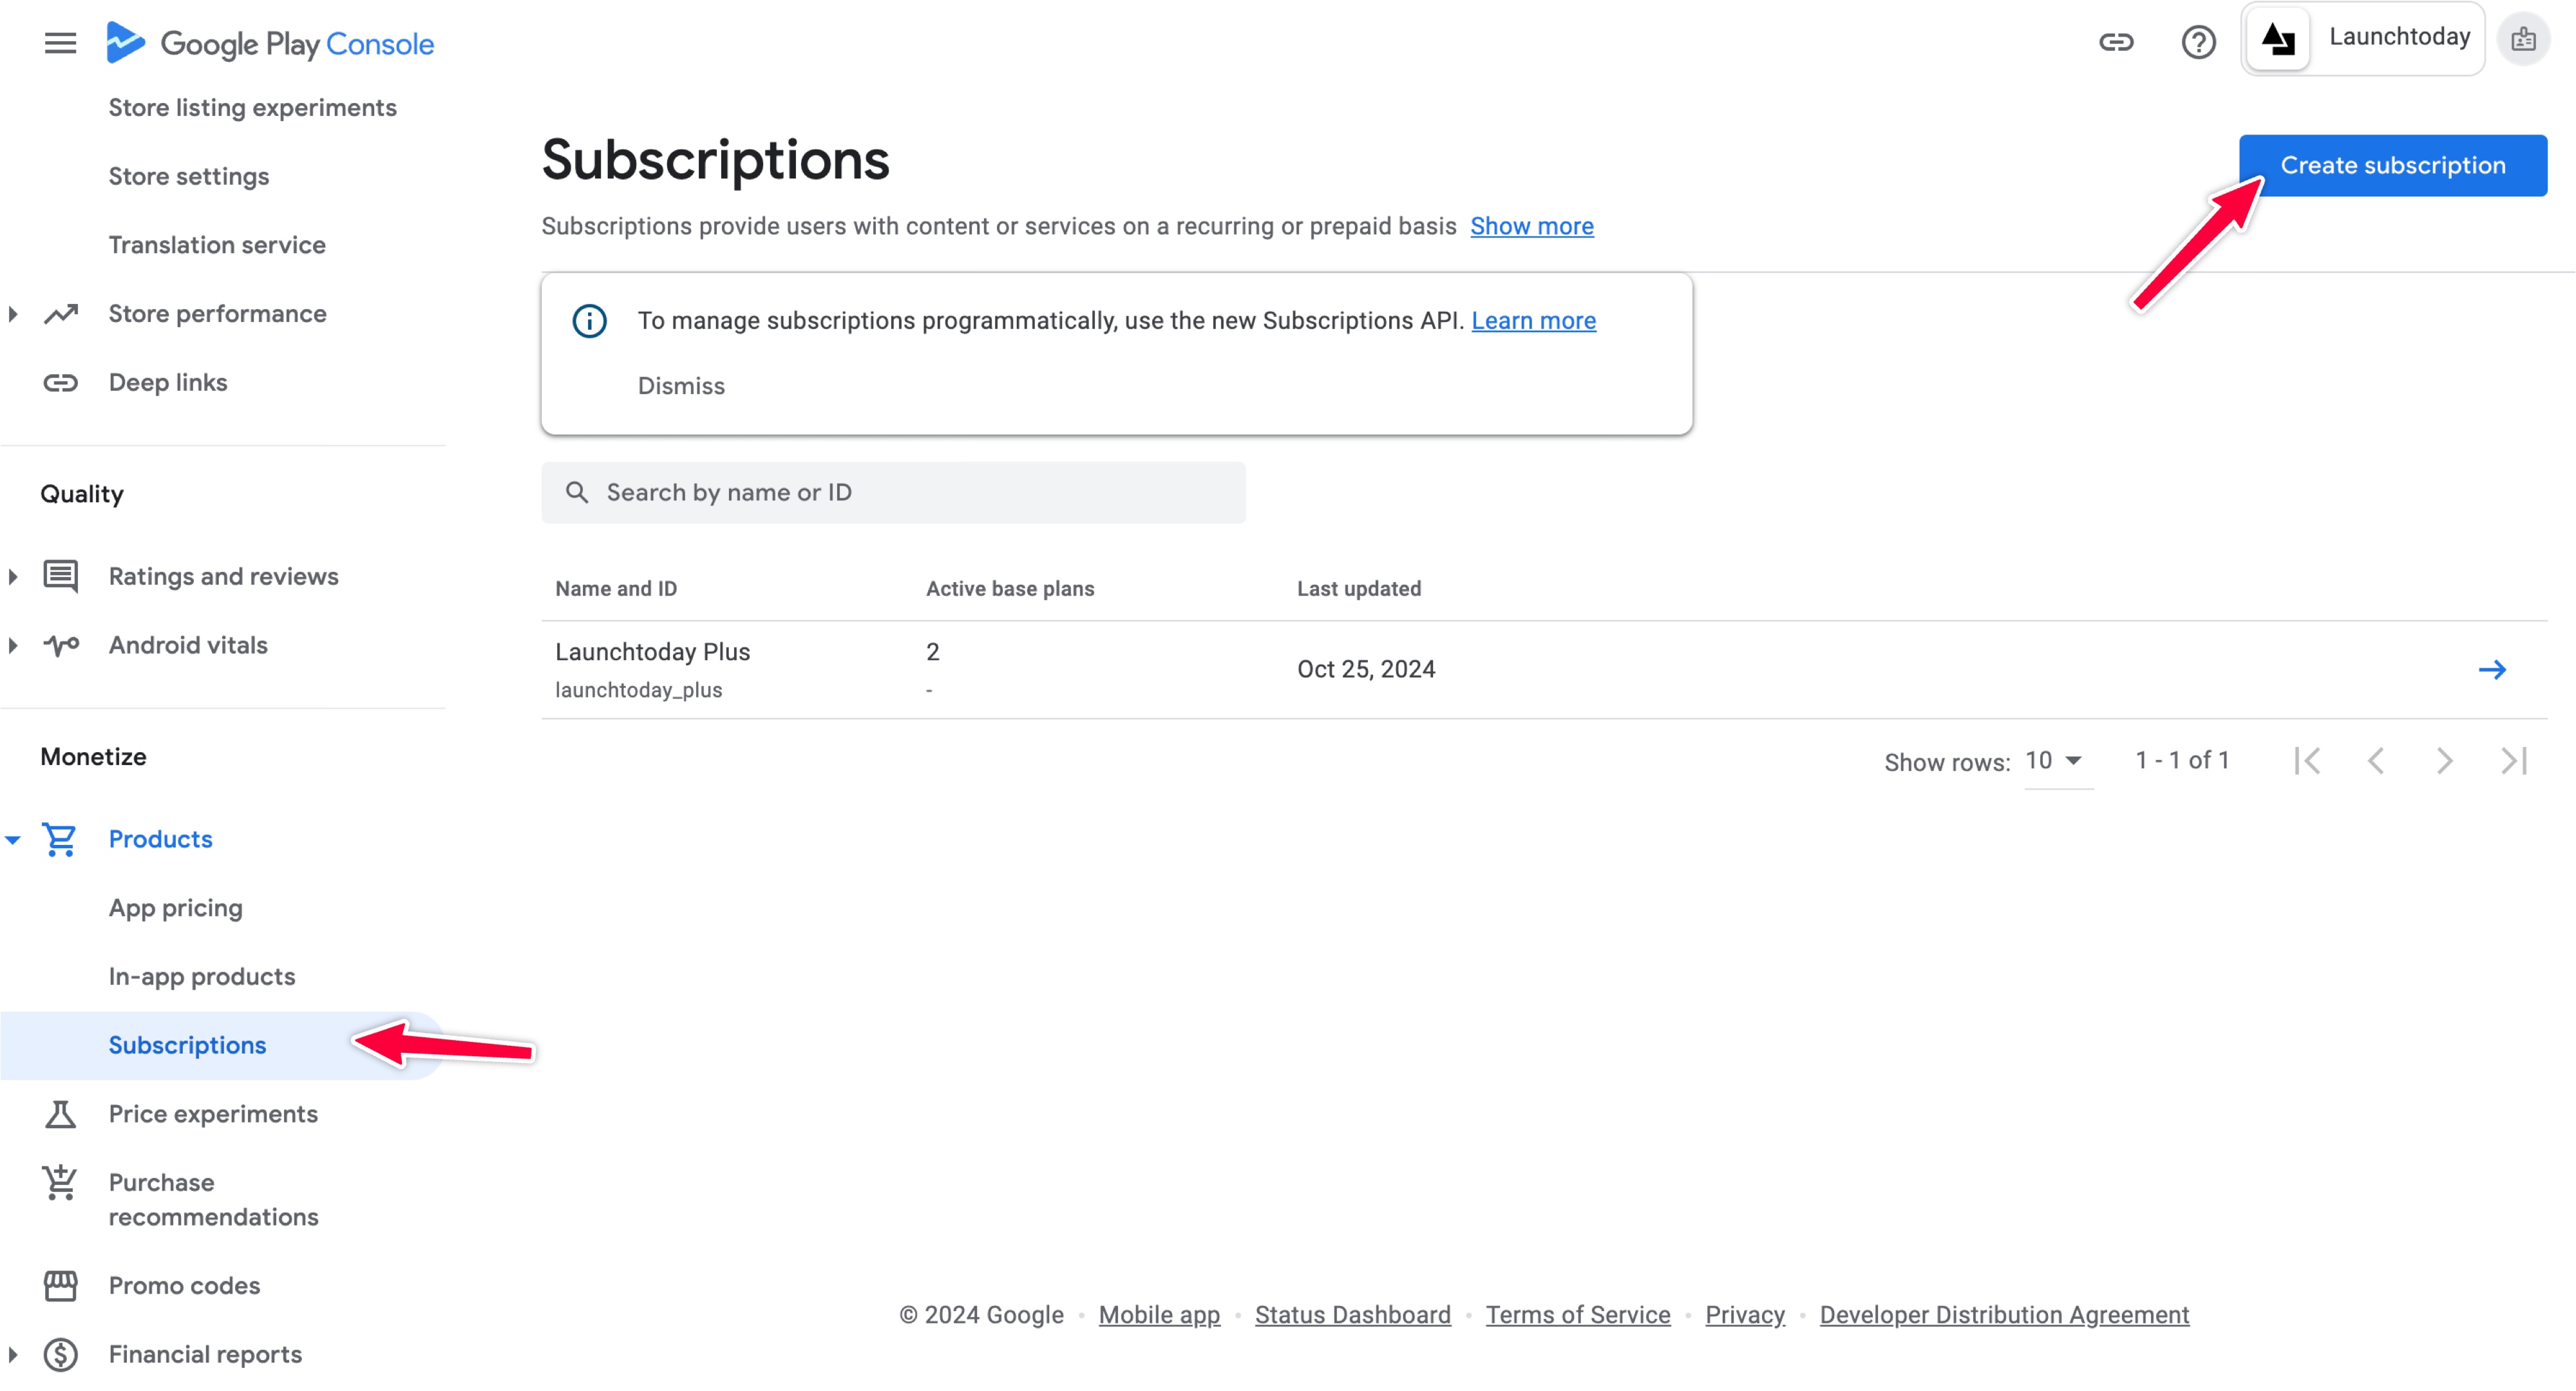
 Once you’ve created the subscription, you’ll be prompted to configure the following:
- Set up the subscription: To make a subscription available for purchase, describe its benefits, then create base plans and their offers
-
Base plans and offers:
- Base Plan ID: A unique identifier for the base plan
- Type: Auto-renewing, prepaid or installments
- Price and availability: Configure regional pricing
Testing Configuration
When working with in-app purchases and subscriptions on Android, it’s important to understand that testing can only be done on physical devices - emulators will not work. Additionally, Google Play requires that you create and publish your app to a closed testing track before any purchase testing can occur. According to RevenueCat’s documentation, this is a mandatory requirement that cannot be bypassed. To properly test your in-app purchases and subscriptions, follow these steps to set up a closed testing track:- Navigate to Testing > Closed testing in the Play Console
- Create a new closed testing release and upload your app bundle/APK
- Add the Gmail addresses of your testers
- Complete the testing track setup and submit for review
- Wait for Google Play’s approval (typically takes a few hours)
License Testing
- Access Setup > License Testing in the console
- Add Gmail accounts that will be used for testing
- Enable license testing responses to prevent actual charges
- Test purchases will be processed without real payments
Internal Testing Track
You can create an internal testing release for a more controlled testing environment:- Set up an internal testing release
- Add specific test users
- Have testers install the app from this track
- Verify the complete purchase flow works as expected
Purchase Flow Validation
Make sure to thoroughly test:- Complete purchase flows using test accounts
- Various purchase states and transitions
- Full subscription lifecycle including renewals
- Proper receipt handling and validation
Best Practices for Implementation
When implementing your purchase system, keep these key points in mind: Product ID Management- Use clear, consistent naming conventions
- Include pricing information in identifiers (e.g., monthly_sub_999)
- Keep IDs descriptive and easily identifiable
- Test all possible purchase scenarios
- Verify cancellation and refund handling
- Ensure subscription renewals work correctly
- Test restore purchases functionality
- Maintain detailed records of all product IDs
- Document your testing procedures
- Keep track of pricing changes and history