App Store Connect is only accessible to registered Apple Developer Program
members. Make sure you have an active membership ($99/year) before proceeding.
Prerequisites
Before you begin, ensure you have:- An Apple Developer account ($99/year)
- Your app created in App Store Connect
- A signed agreement for paid applications in App Store Connect
In-App Purchases Setup
Creating a New In-App Purchase
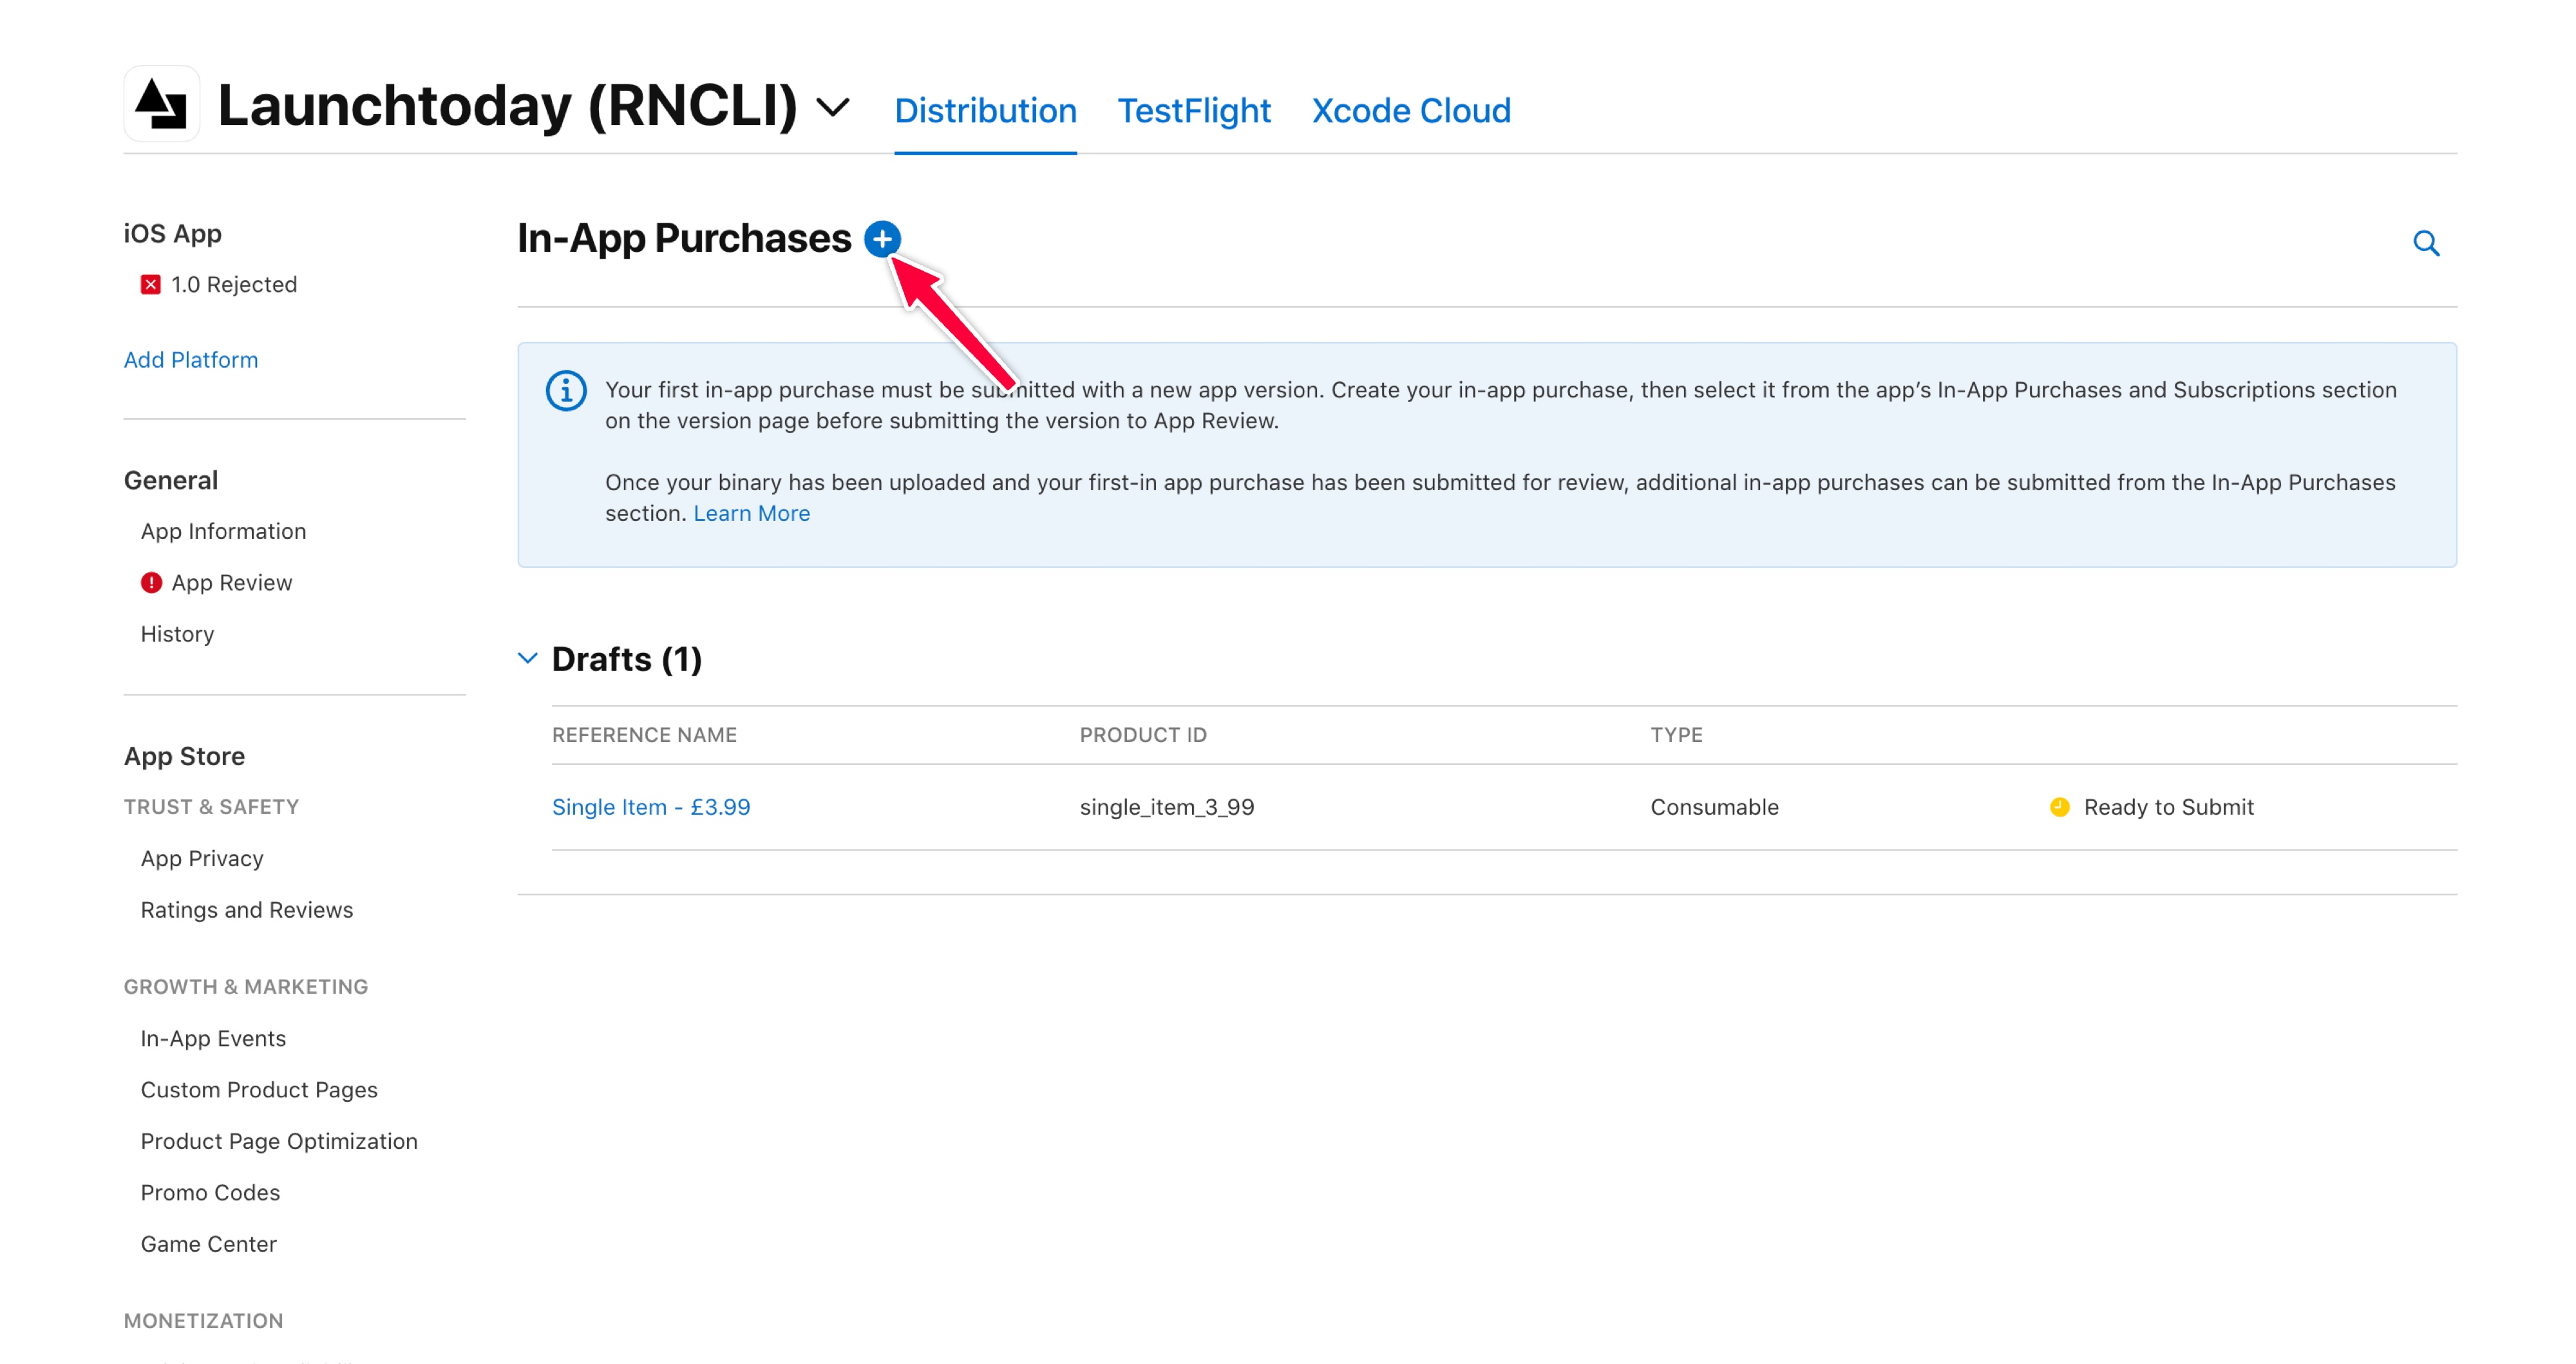
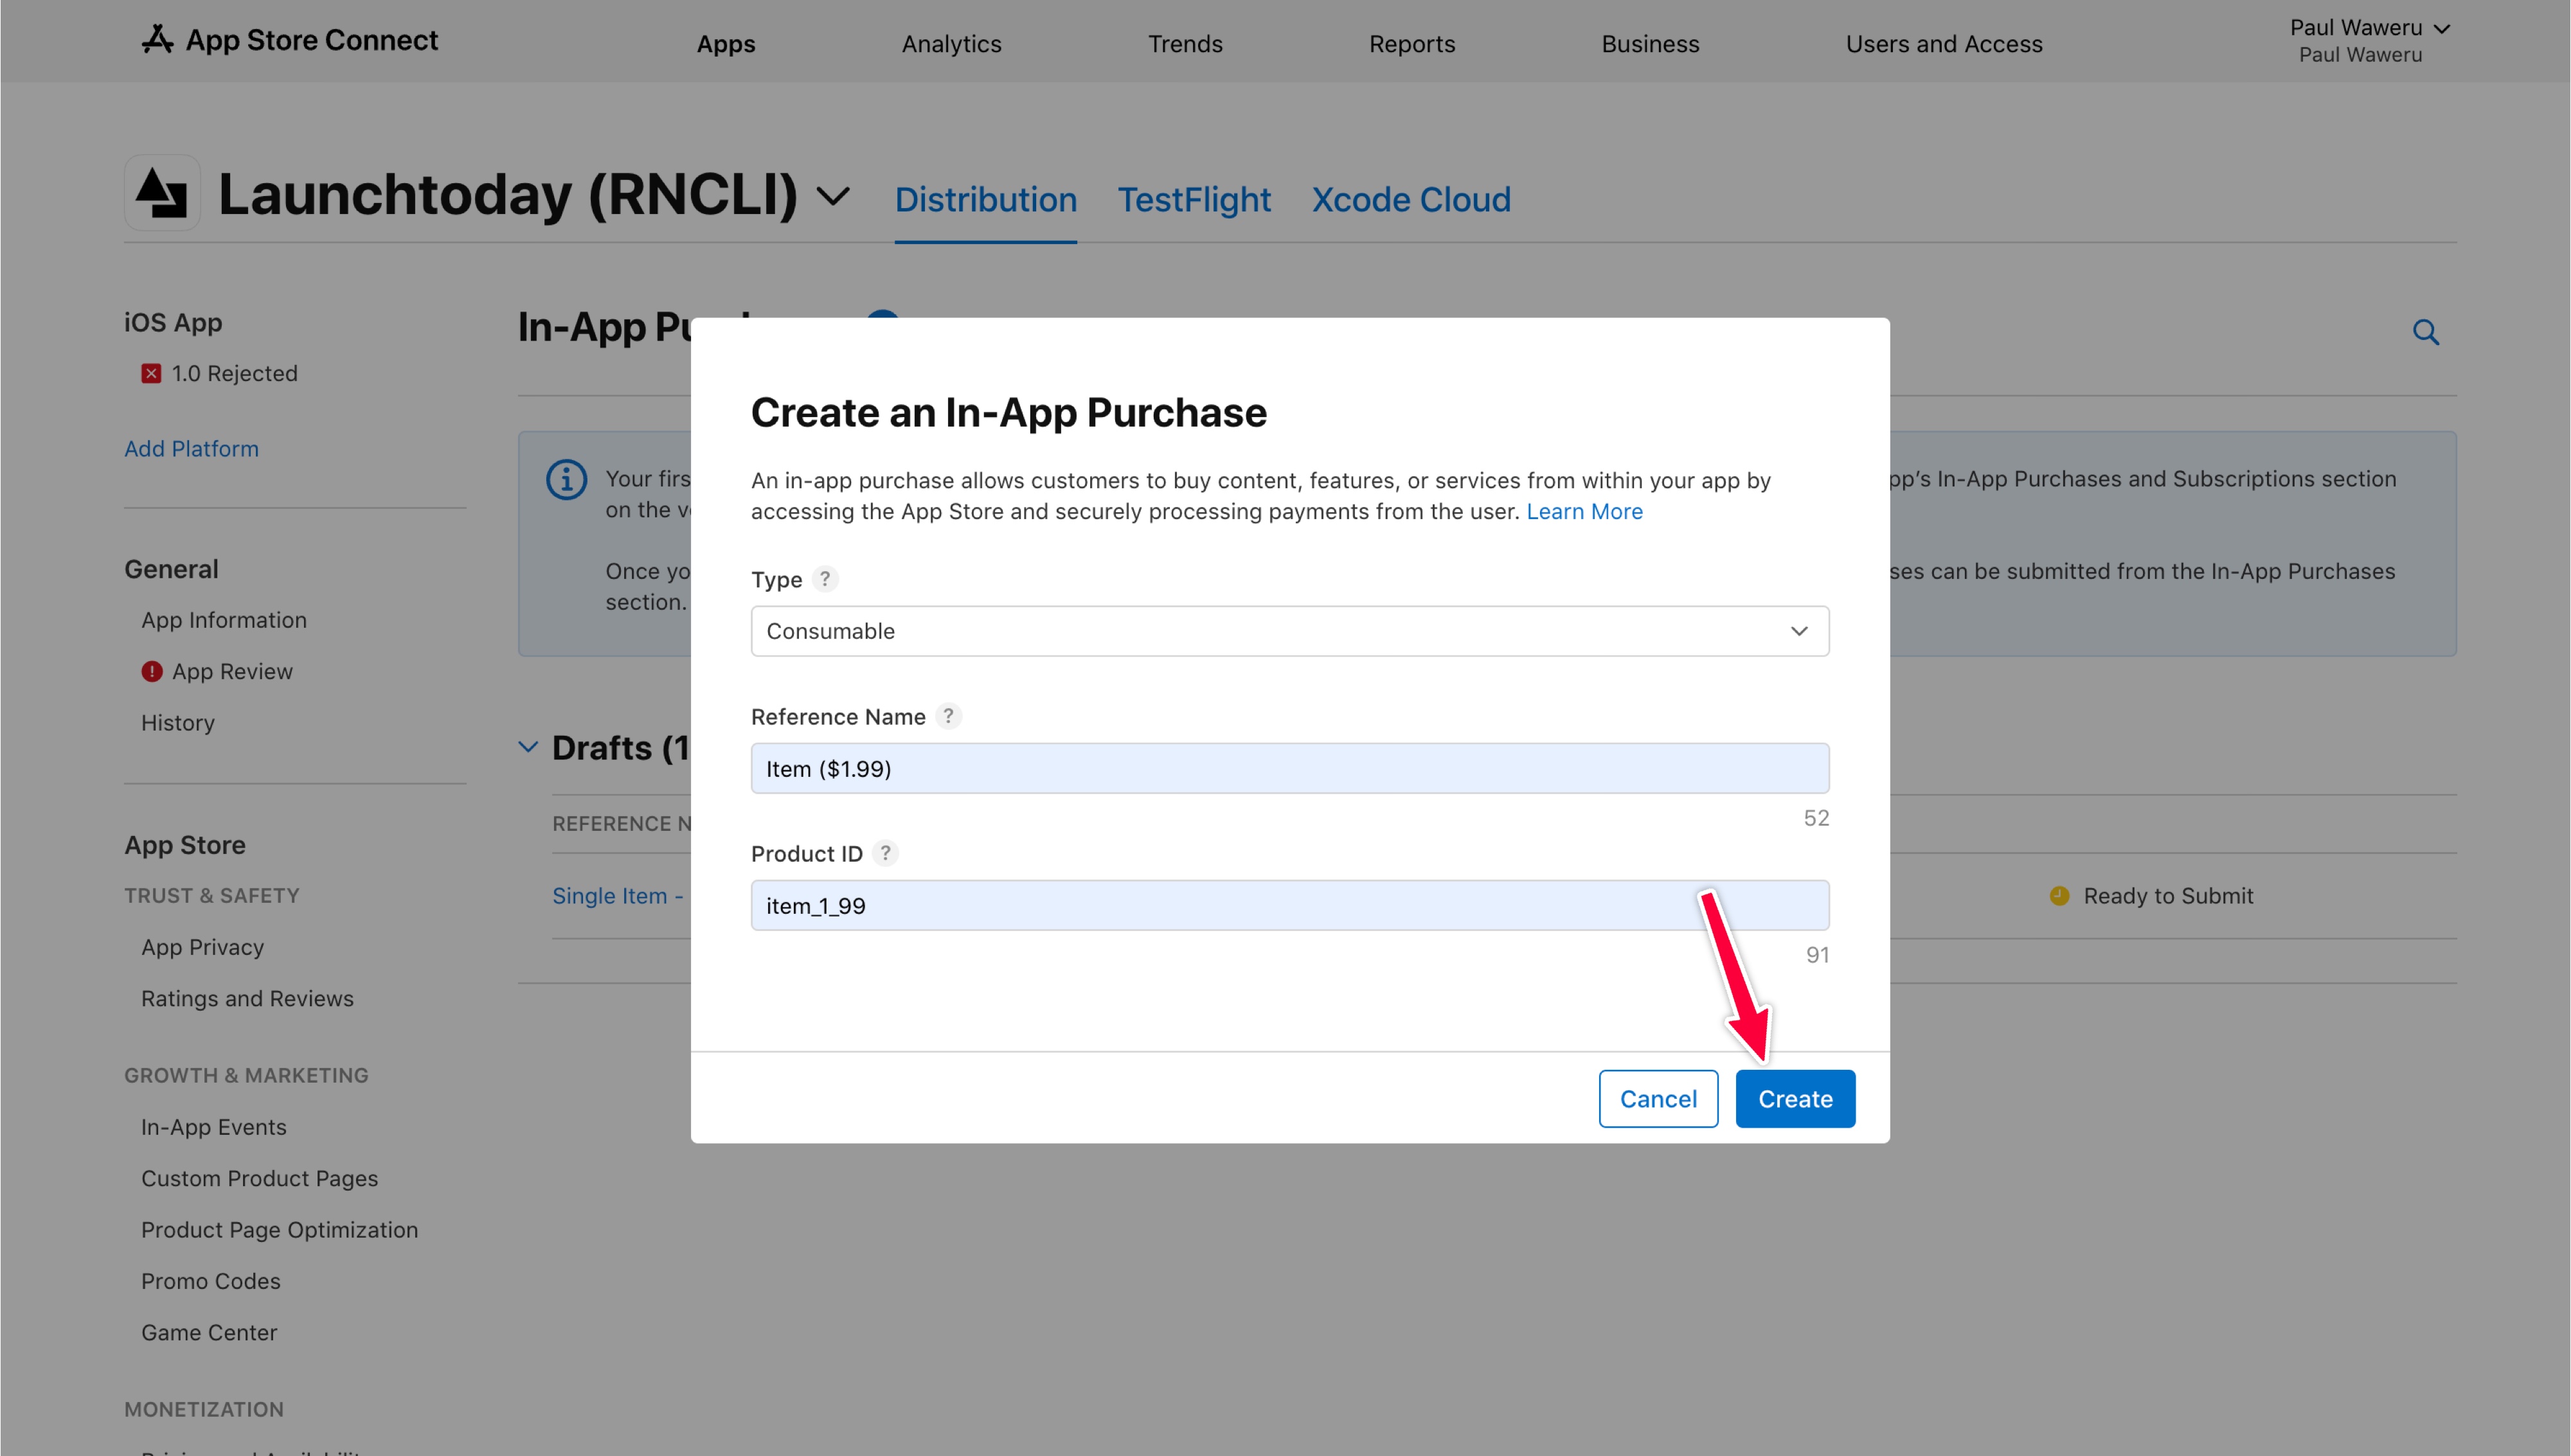
Once in App Store Connect, scroll down to find the “In-App Purchases” section. Click the plus (+) button in the top-right corner to create a new in-app purchase item. You’ll be presented with different purchase types - select “Consumable” if you want the item to be purchasable multiple times (like virtual currency or consumable items). When creating the product, choose a clear reference name for internal use. For the product ID, follow the best practice of including the price in the identifier - for example, “item_1_99” for a $1.99 purchase. This makes it easier to identify different price points when viewing products in RevenueCat later. Below are screenshots of the process: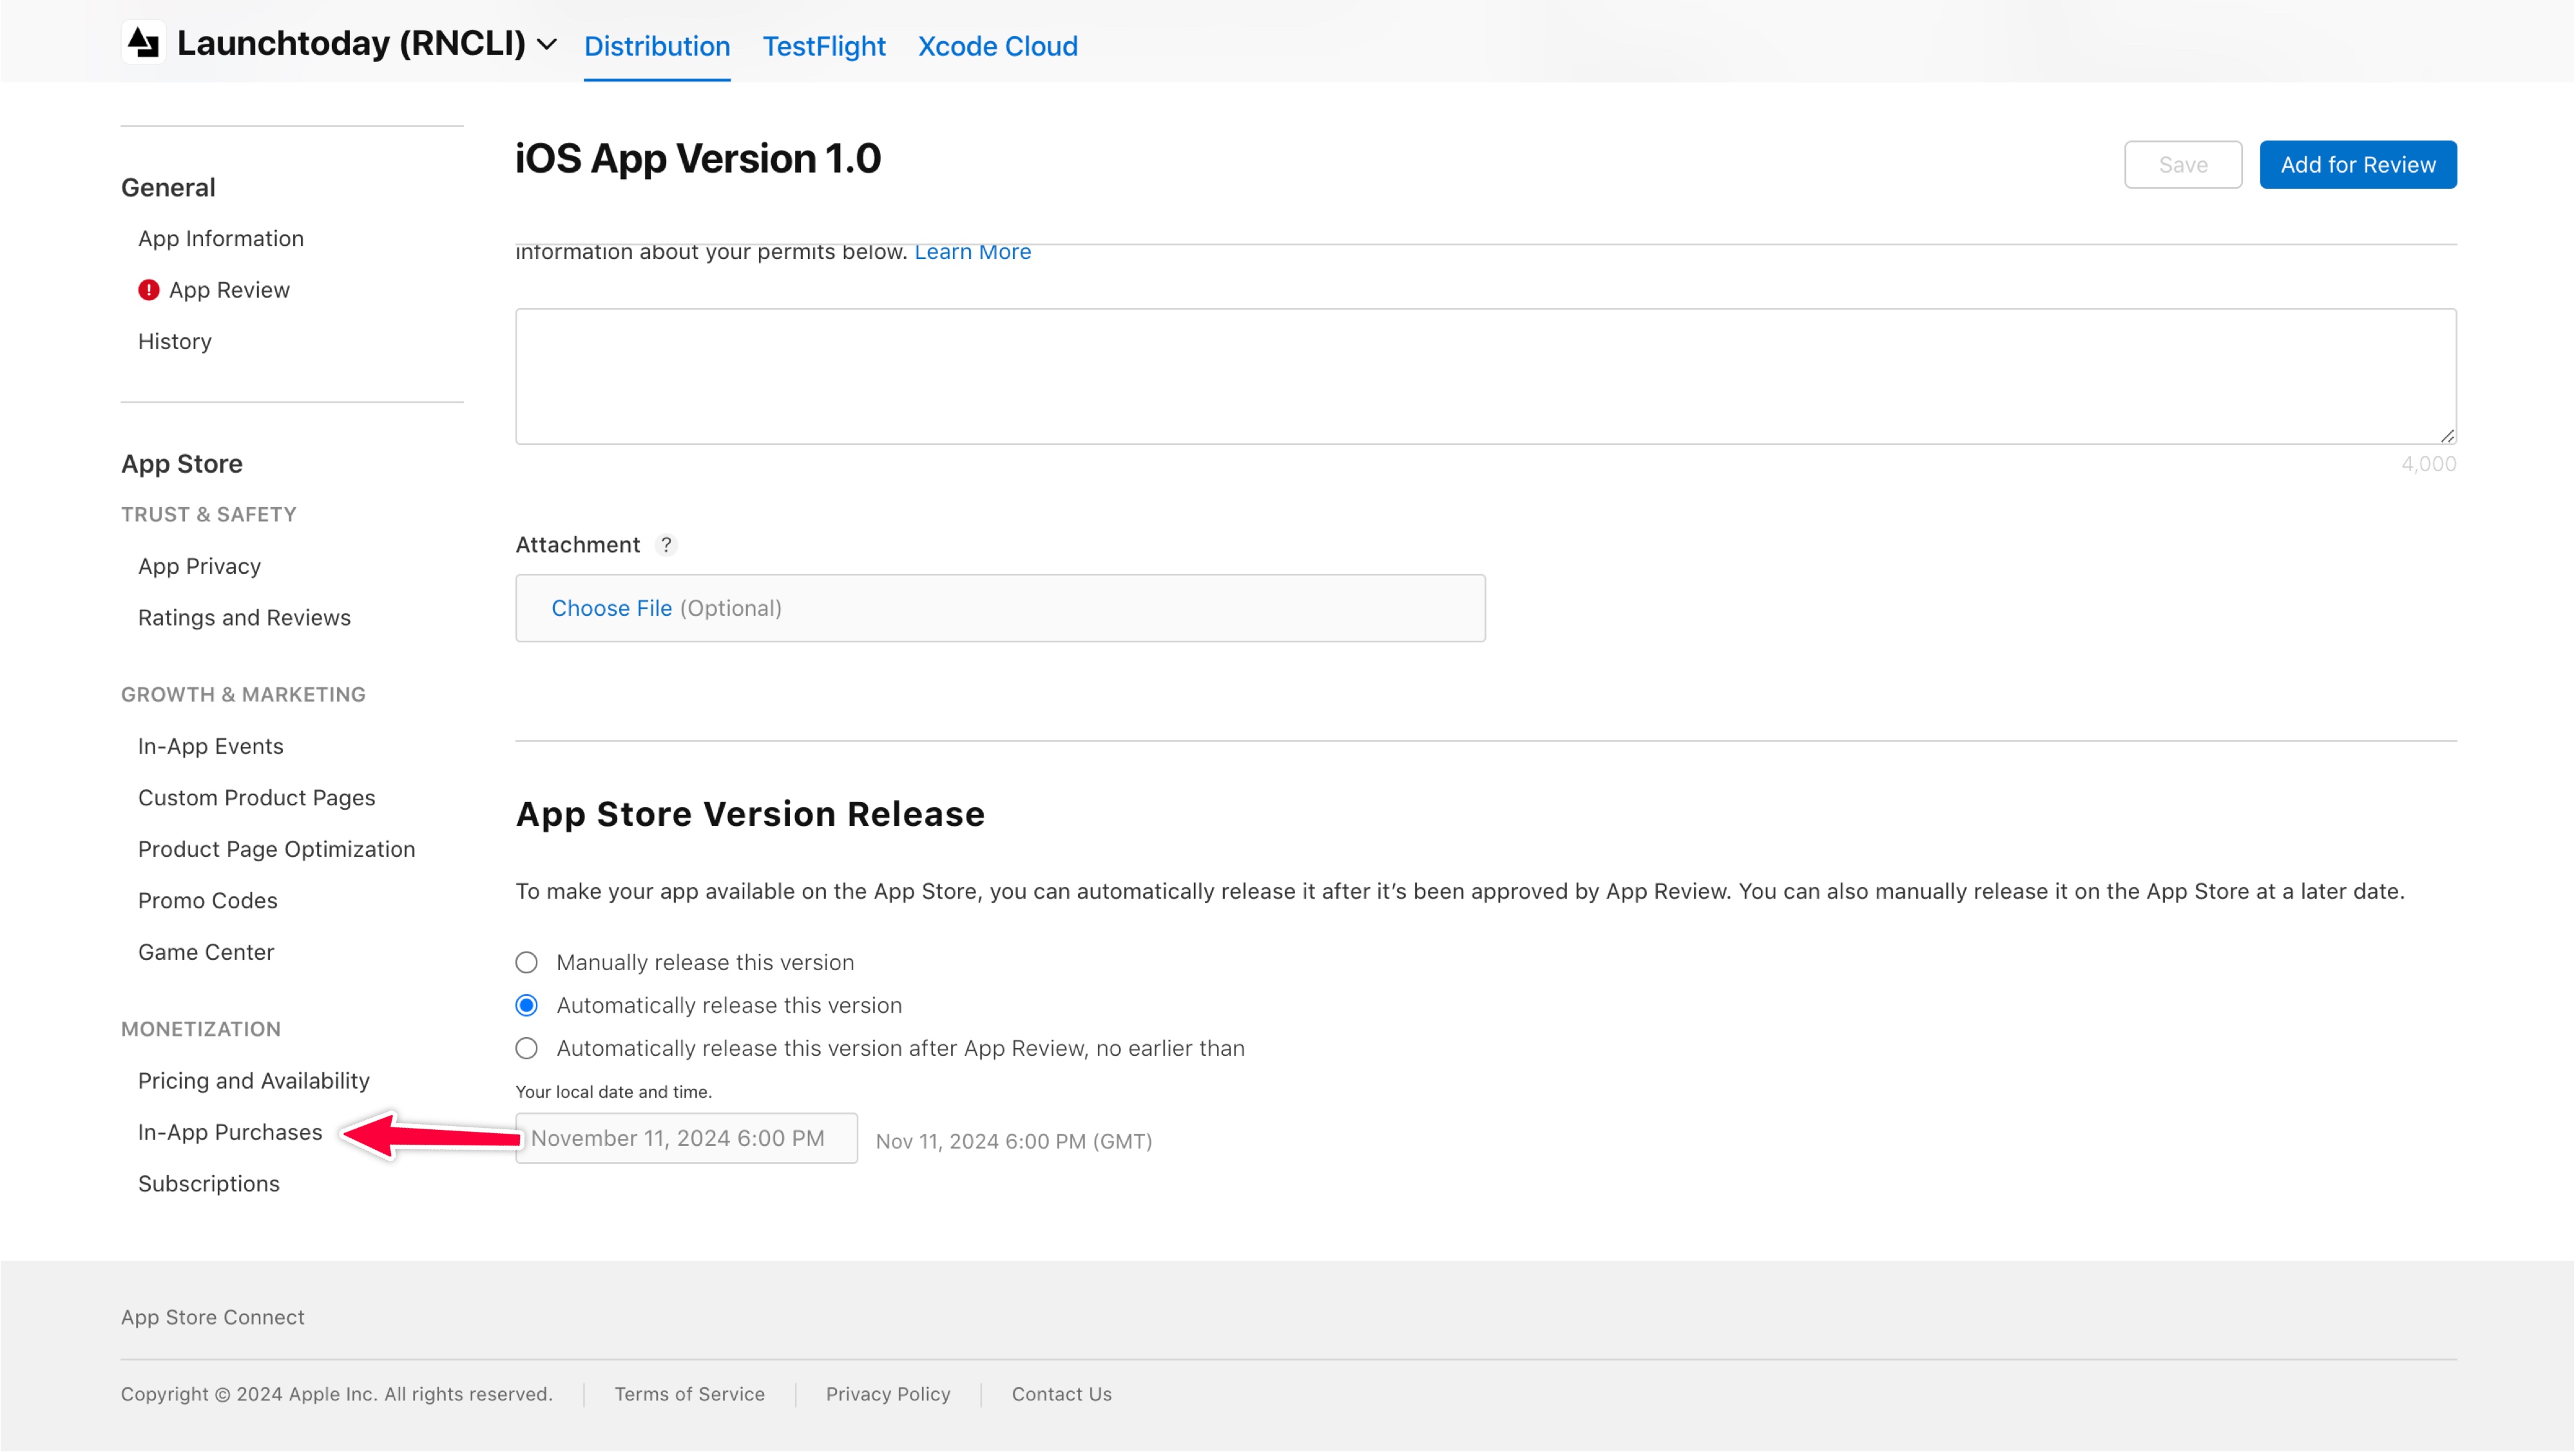
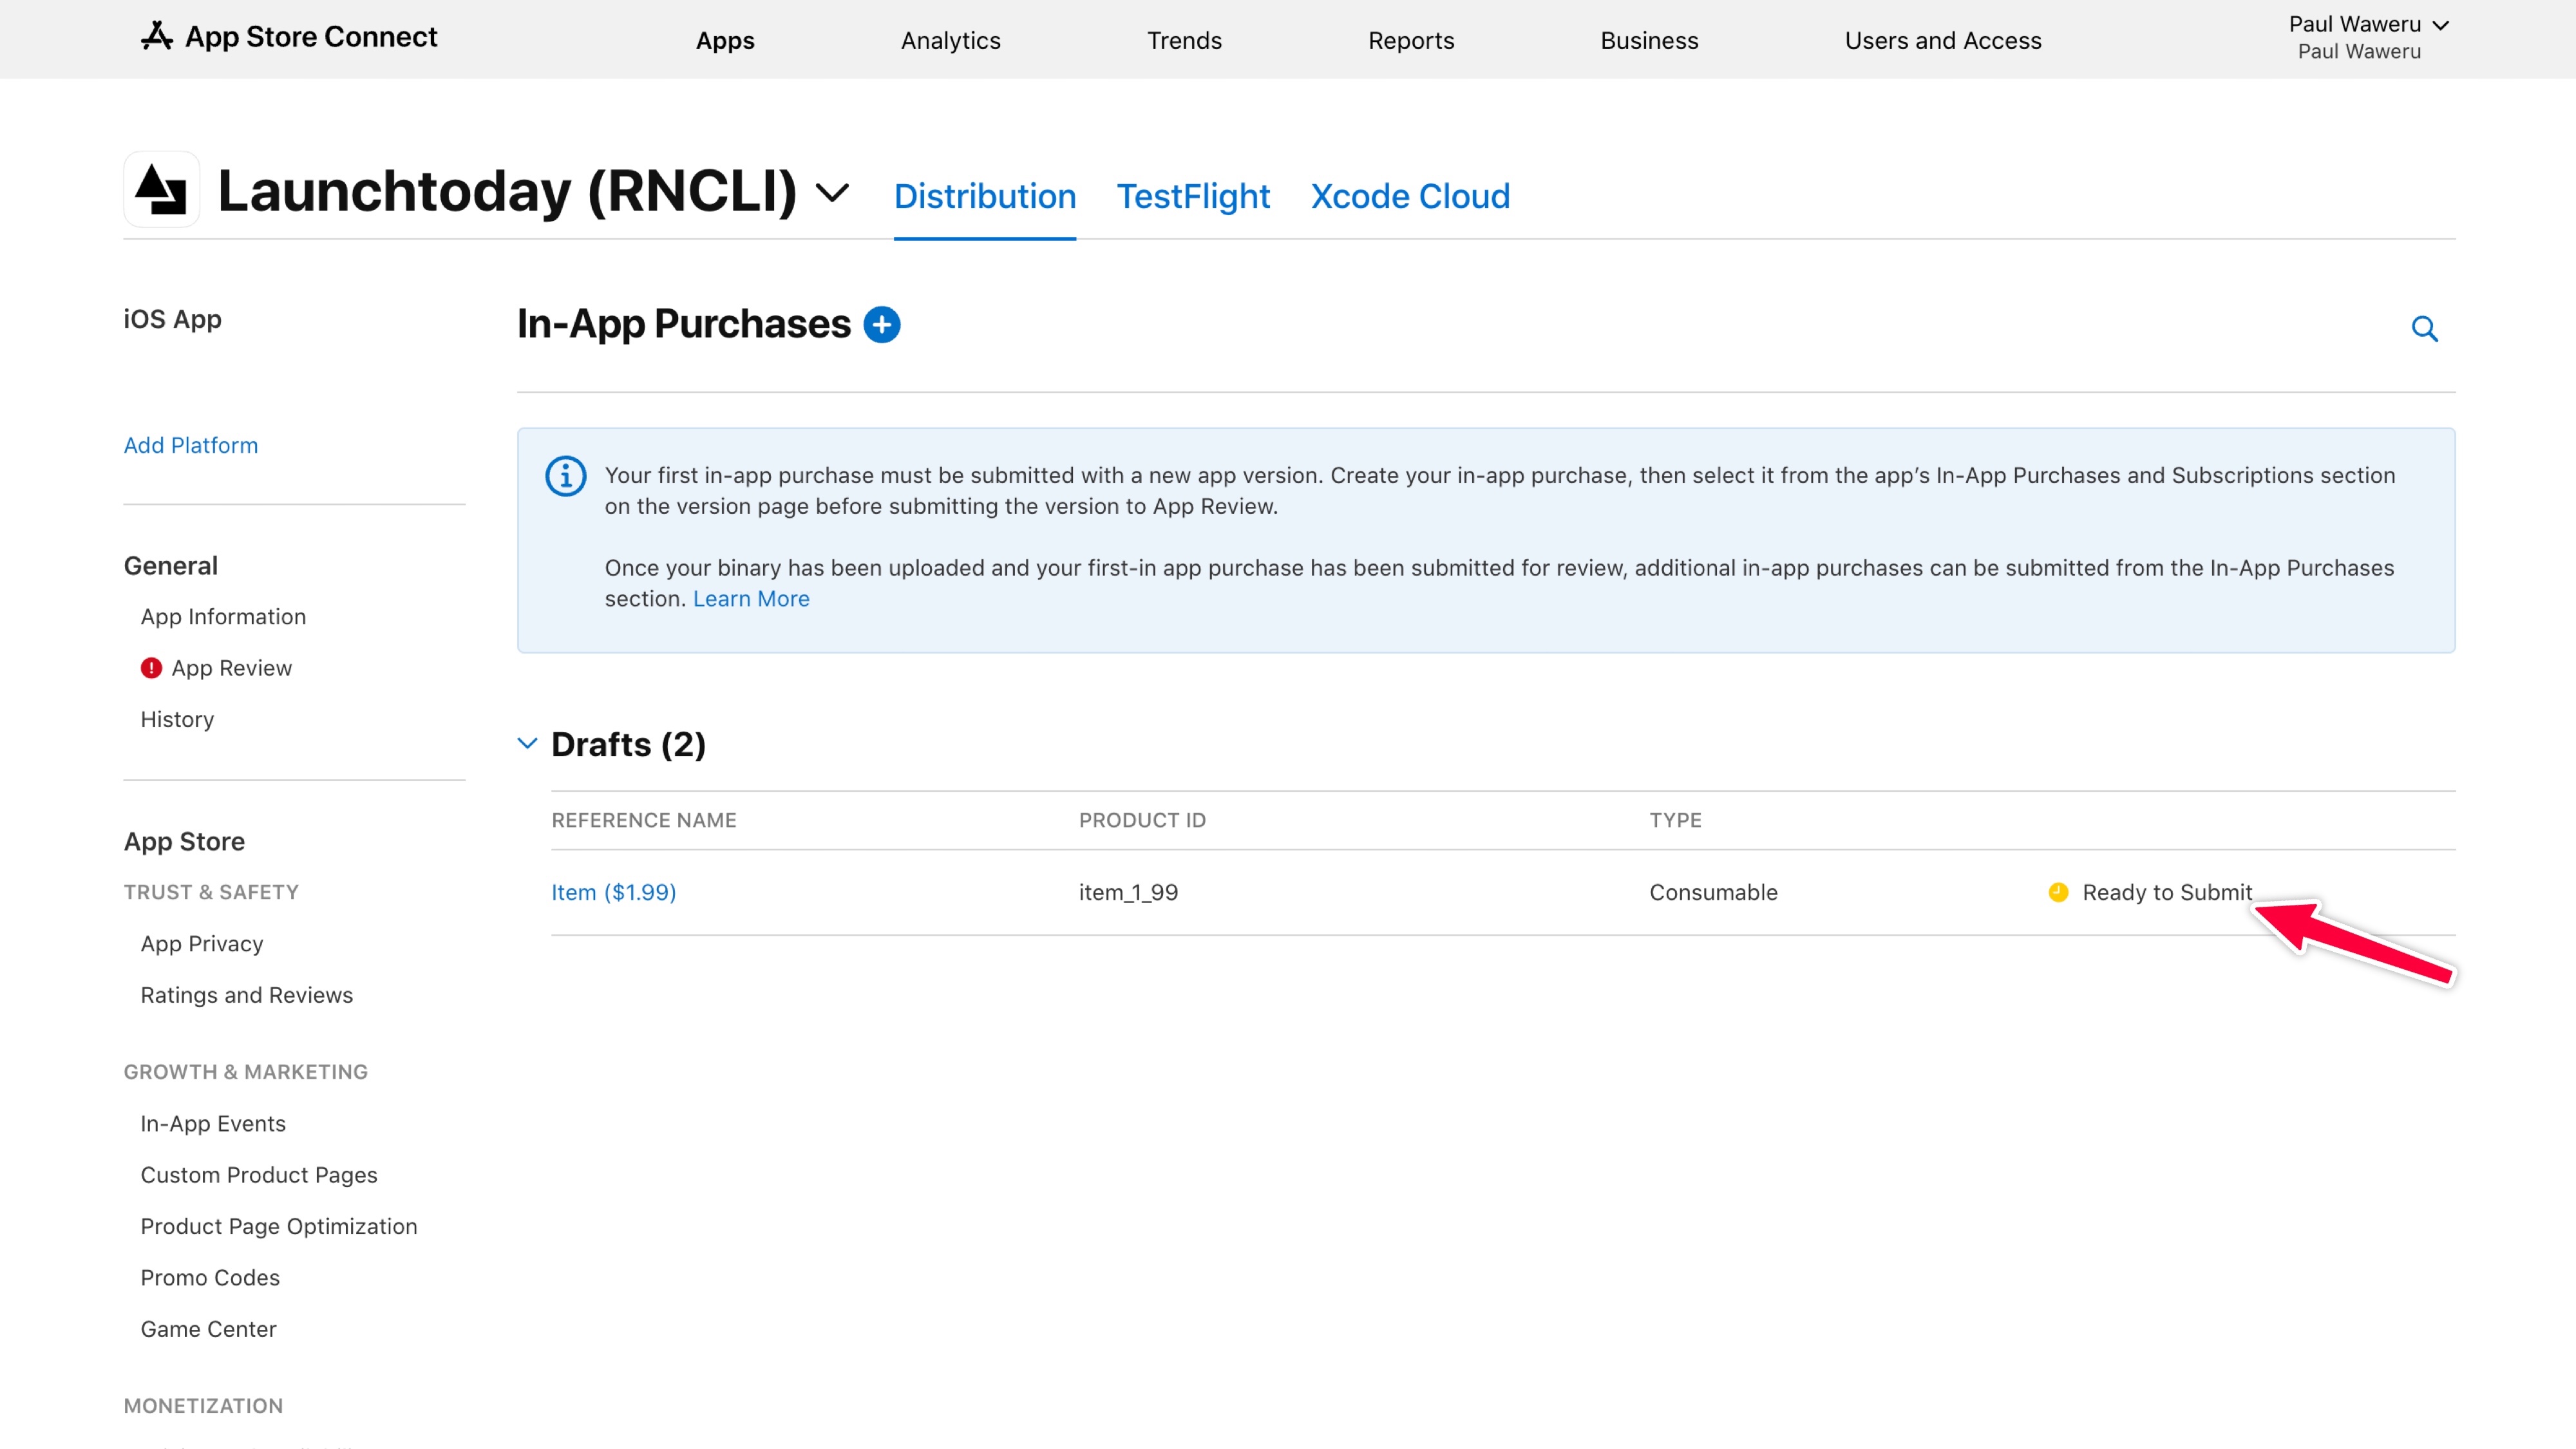
 After creating your in-app purchase, you’ll need to complete several important configuration steps:
- Availability: Select which countries or regions your in-app purchase will be available in. You can choose to make your product available globally or restrict it to specific territories based on your business strategy and regulatory requirements.
- Price Schedule: Set up your pricing structure, including the base price and any scheduled price changes. You can configure different price points for different regions, and even schedule price changes in advance - useful for planned promotions or gradual price adjustments.
-
App Store Localization: Set a clear and descriptive display name and description for your in-app purchase that will appear in the App Store:
- Display Name: Use a concise name that clearly indicates what the user is purchasing (e.g., “Premium Access”, “Remove Ads”, “100 Coins”)
- Description: Write a detailed explanation of what the purchase includes and its benefits to the user. Keep it clear and compelling while avoiding excessive marketing language
- If targeting multiple regions, provide translations for both the display name and description in the relevant languages to reach a wider audience
- Review Information: Provide essential information that helps App Store reviewers understand and evaluate your in-app purchase. This includes:
Subscriptions Setup
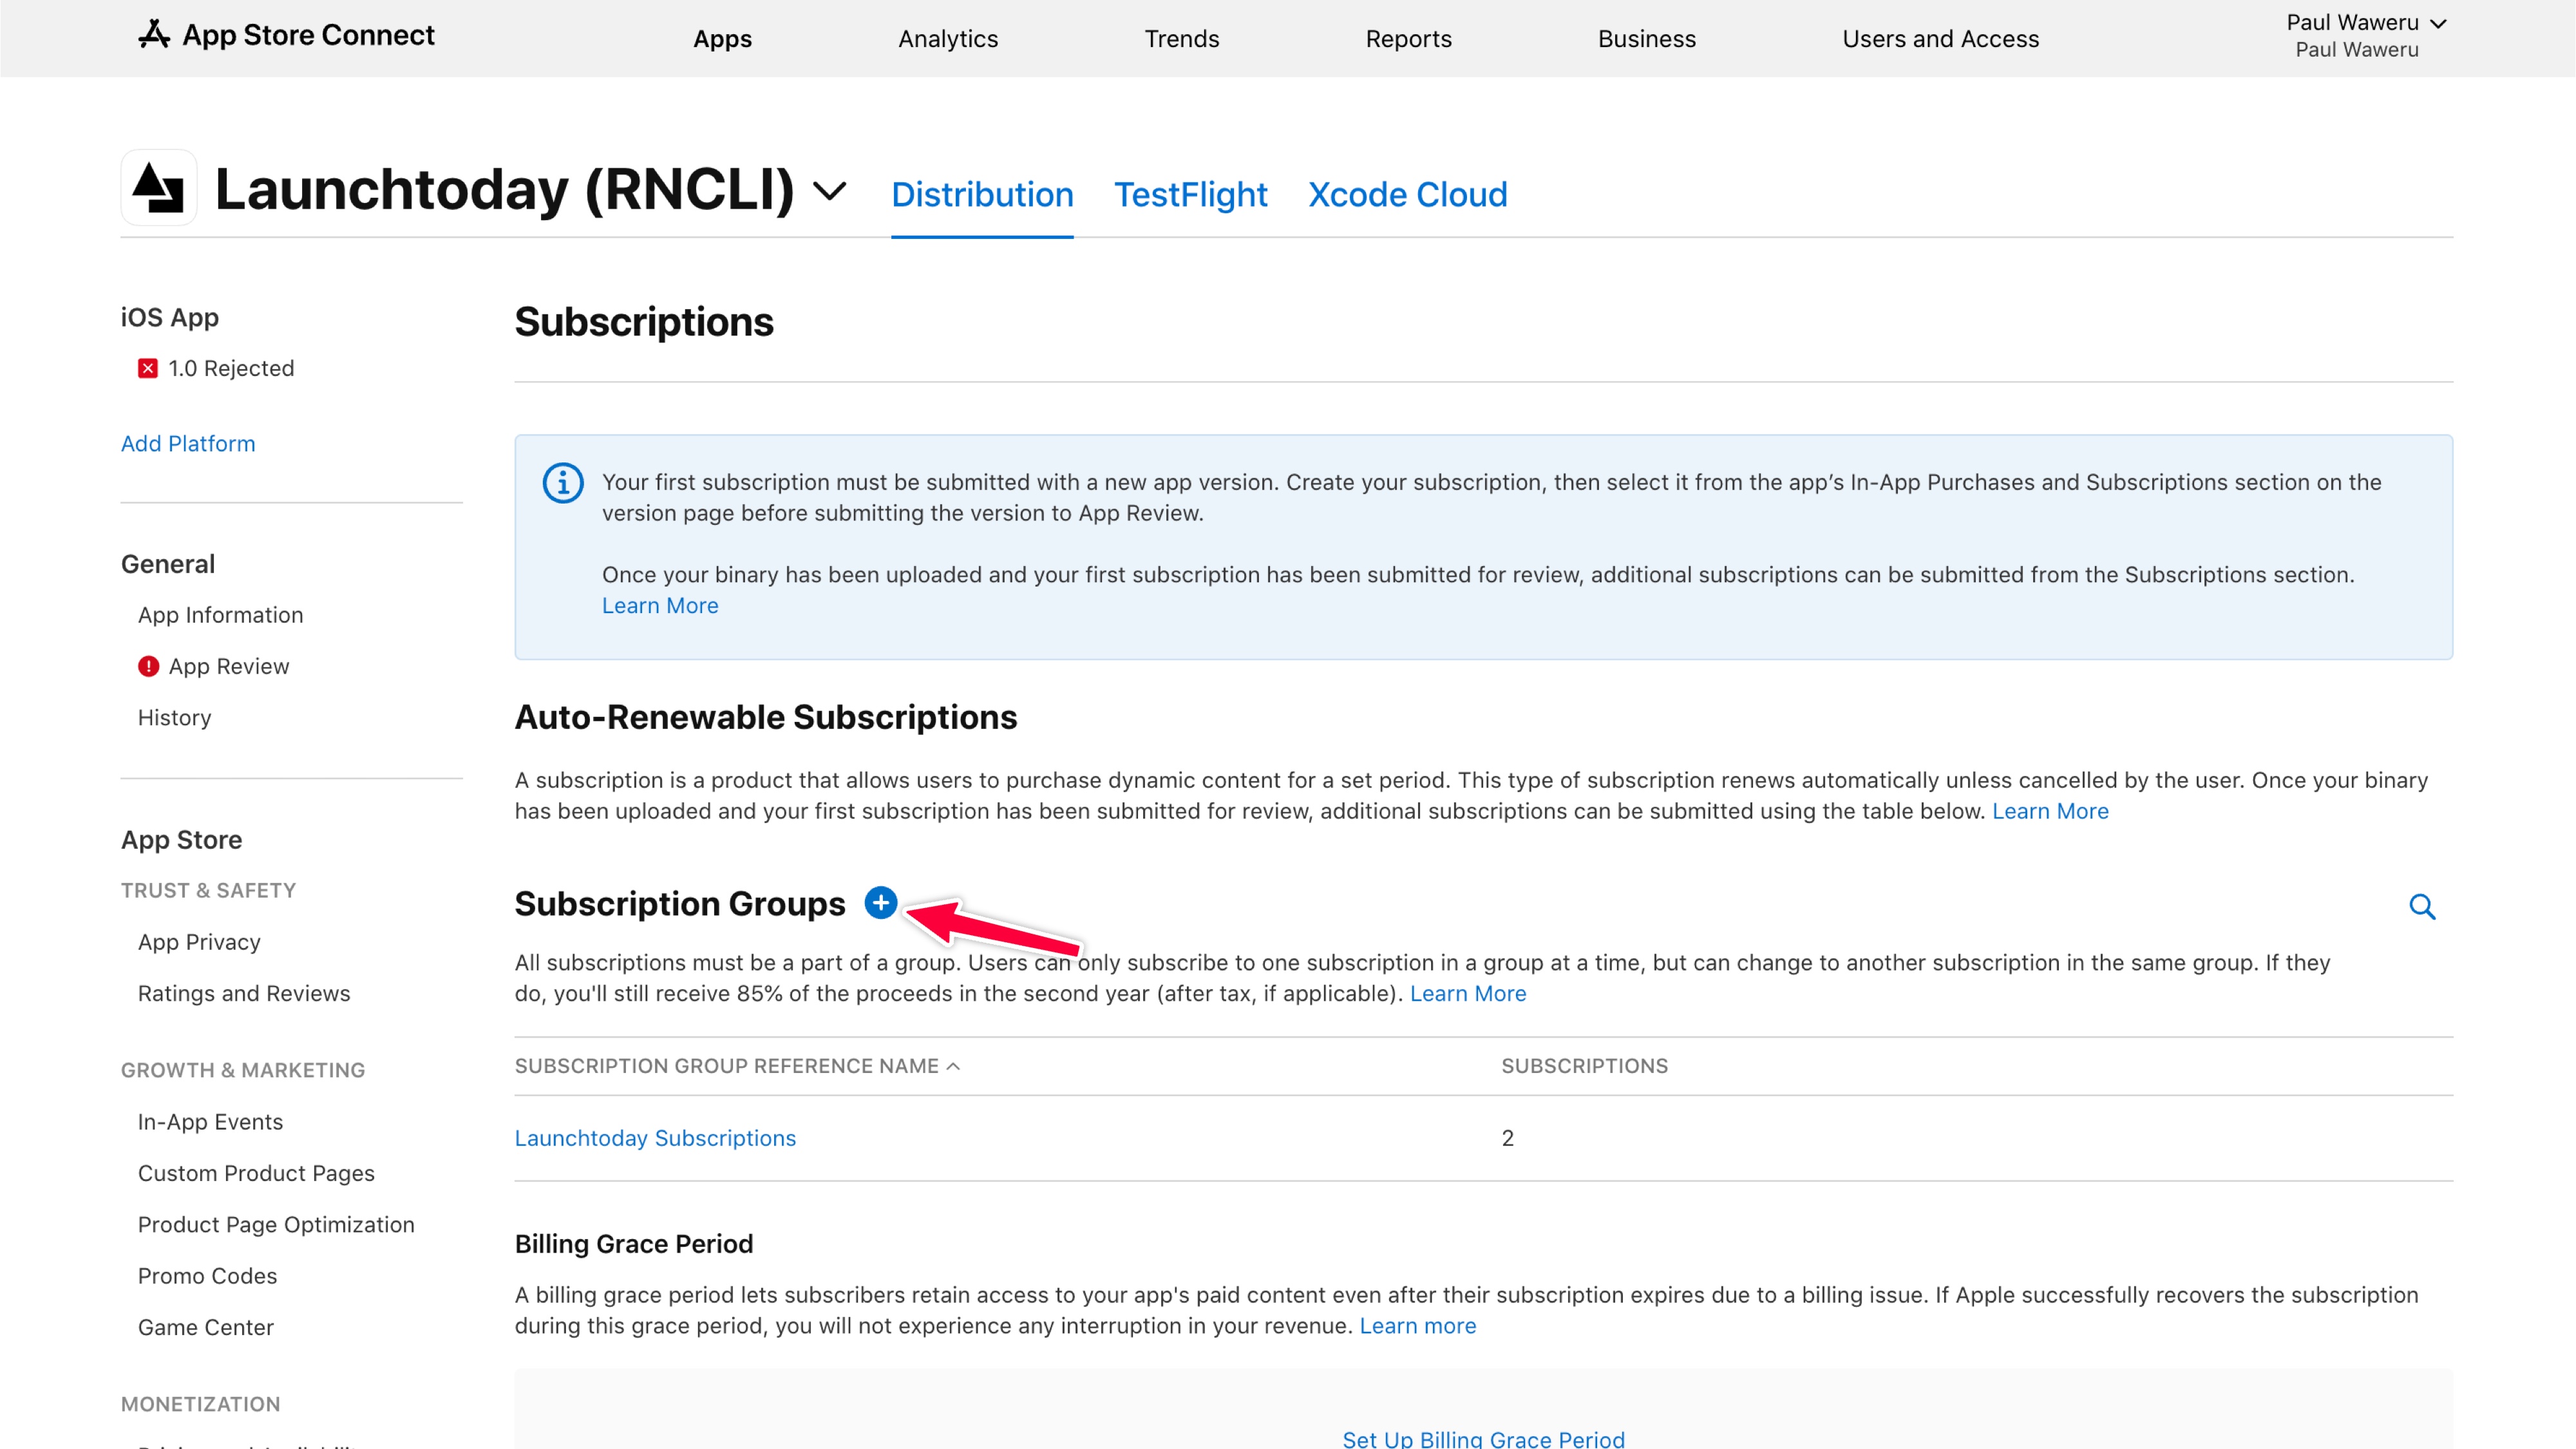
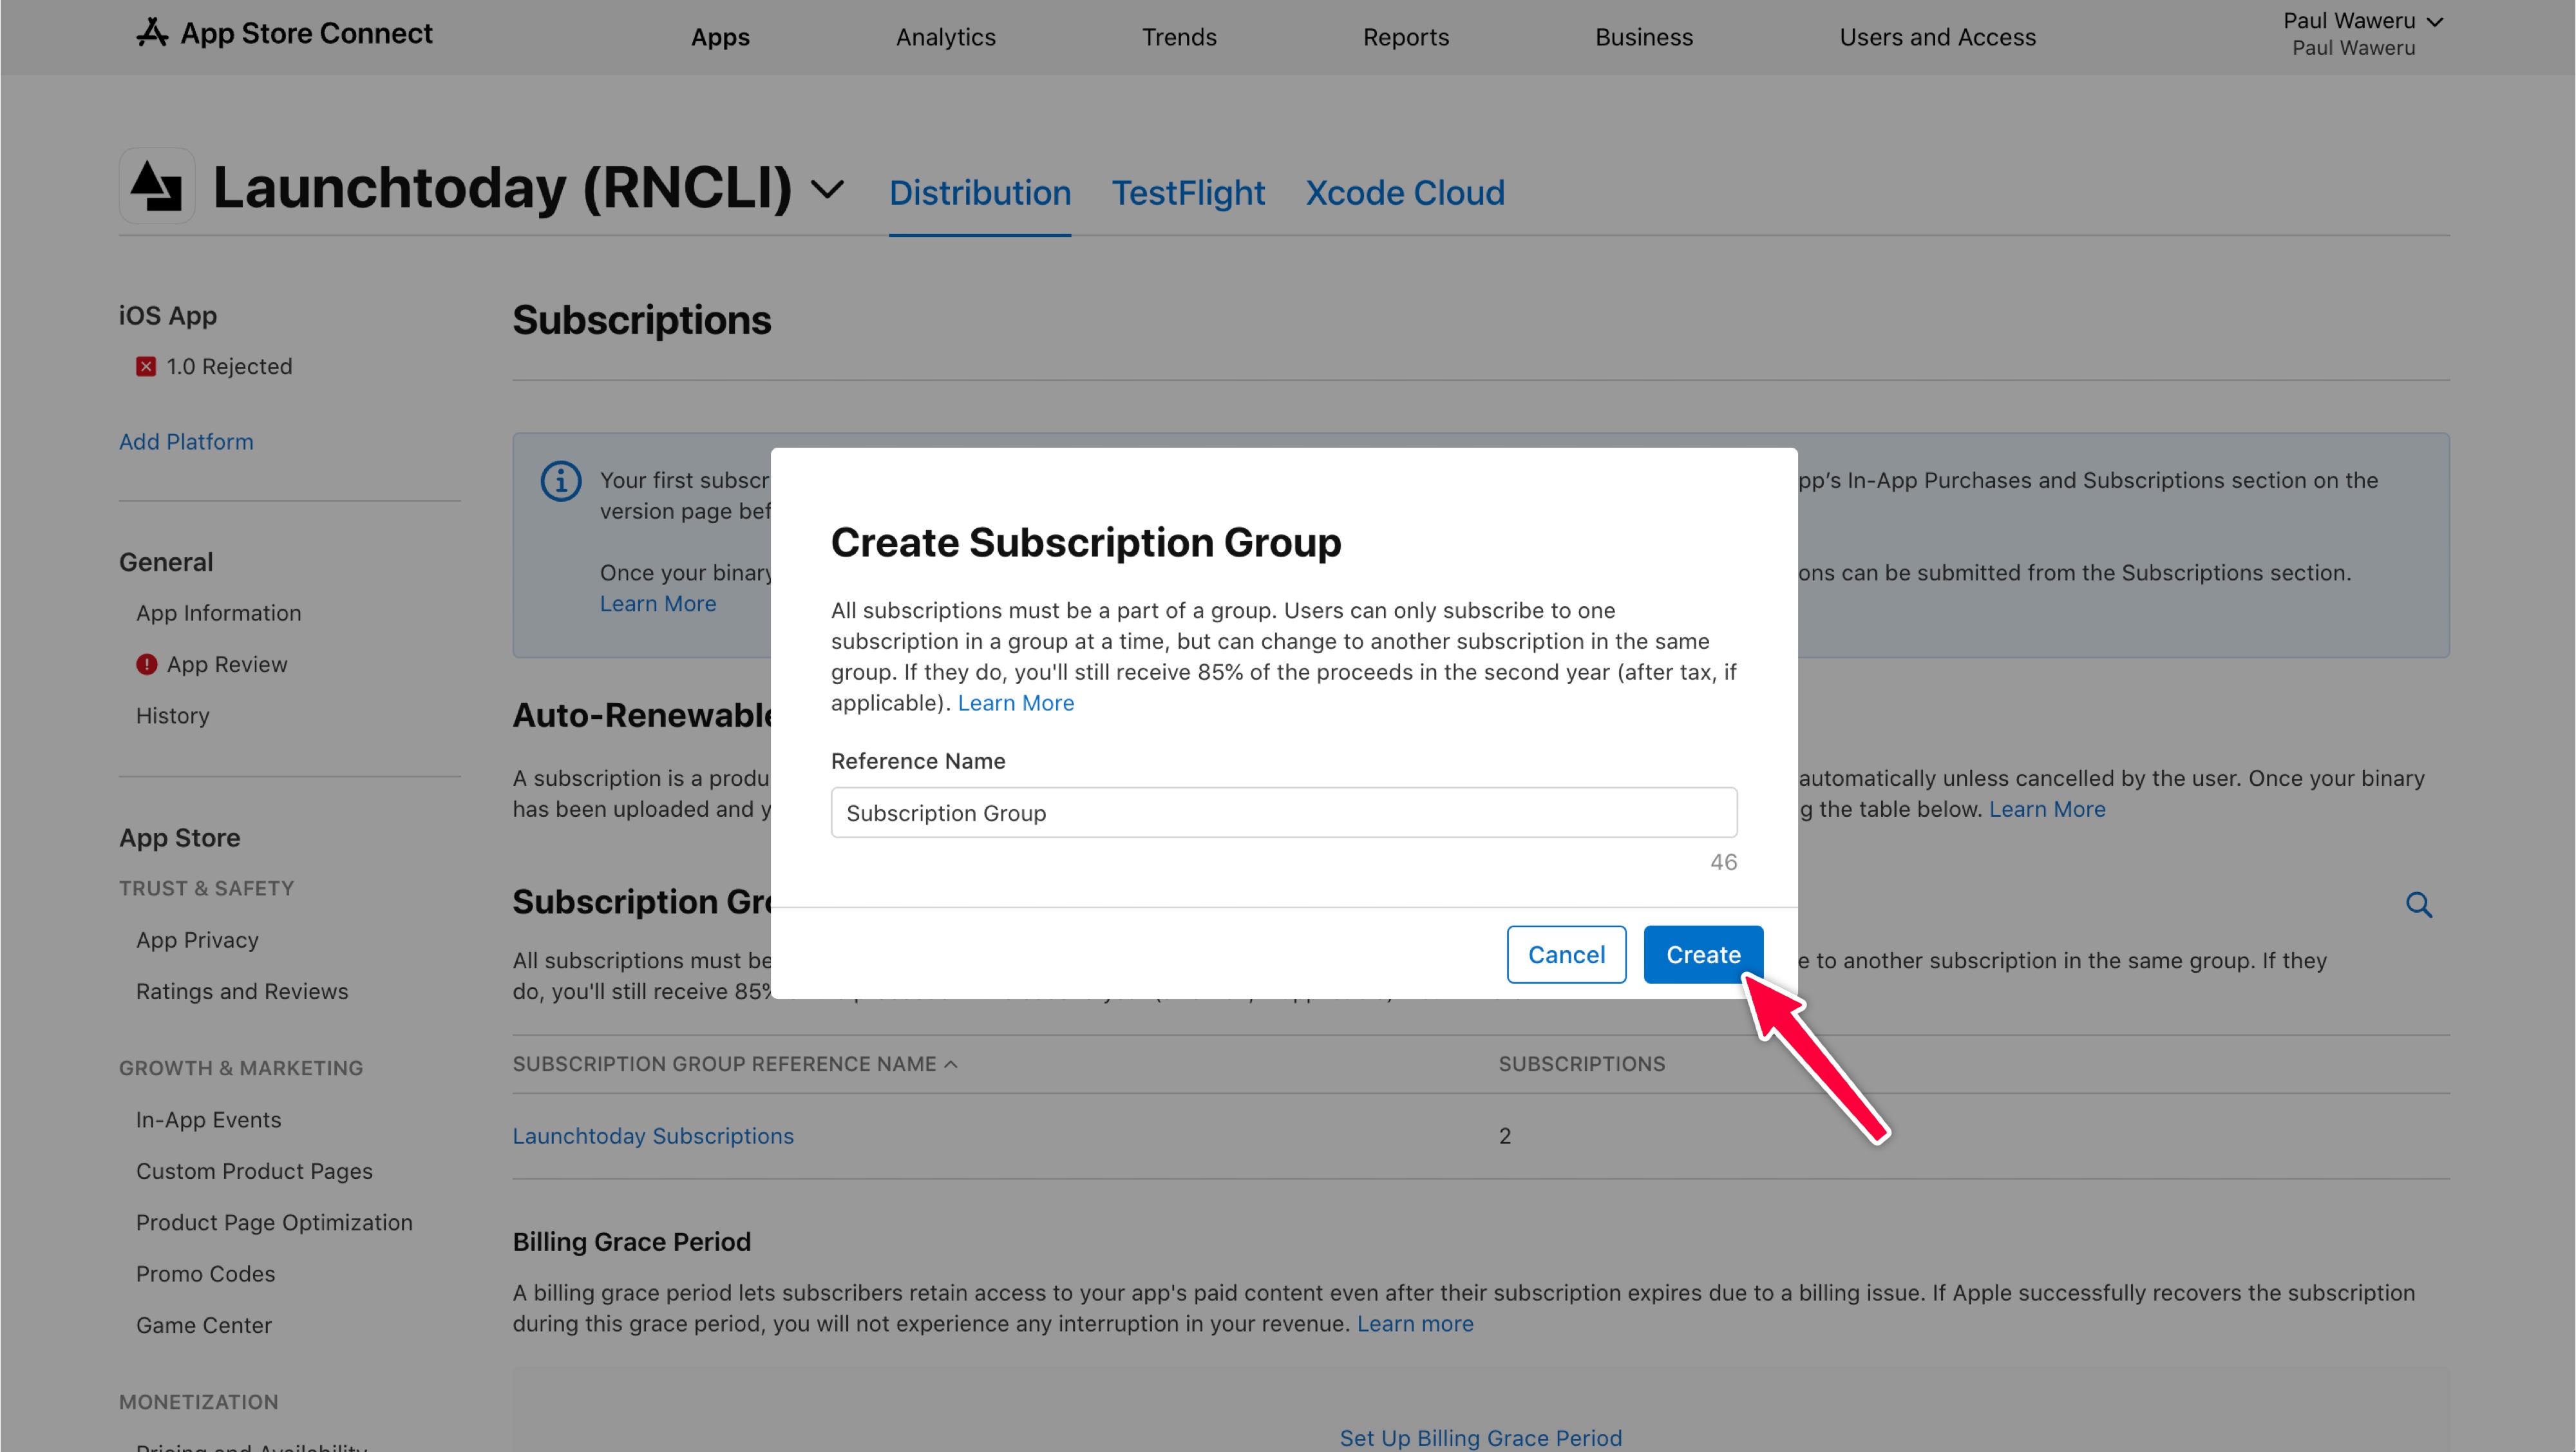
To set up subscriptions in App Store Connect, navigate to the bottom of your app’s page and locate the “Subscriptions” section. Click the plus (+) button in the top-right corner to begin creating a new subscription group. You’ll need to provide a reference name for your subscription group - for example, “My App Subscriptions” or “Premium Access Plans”. This name will be referenced when setting up RevenueCat later.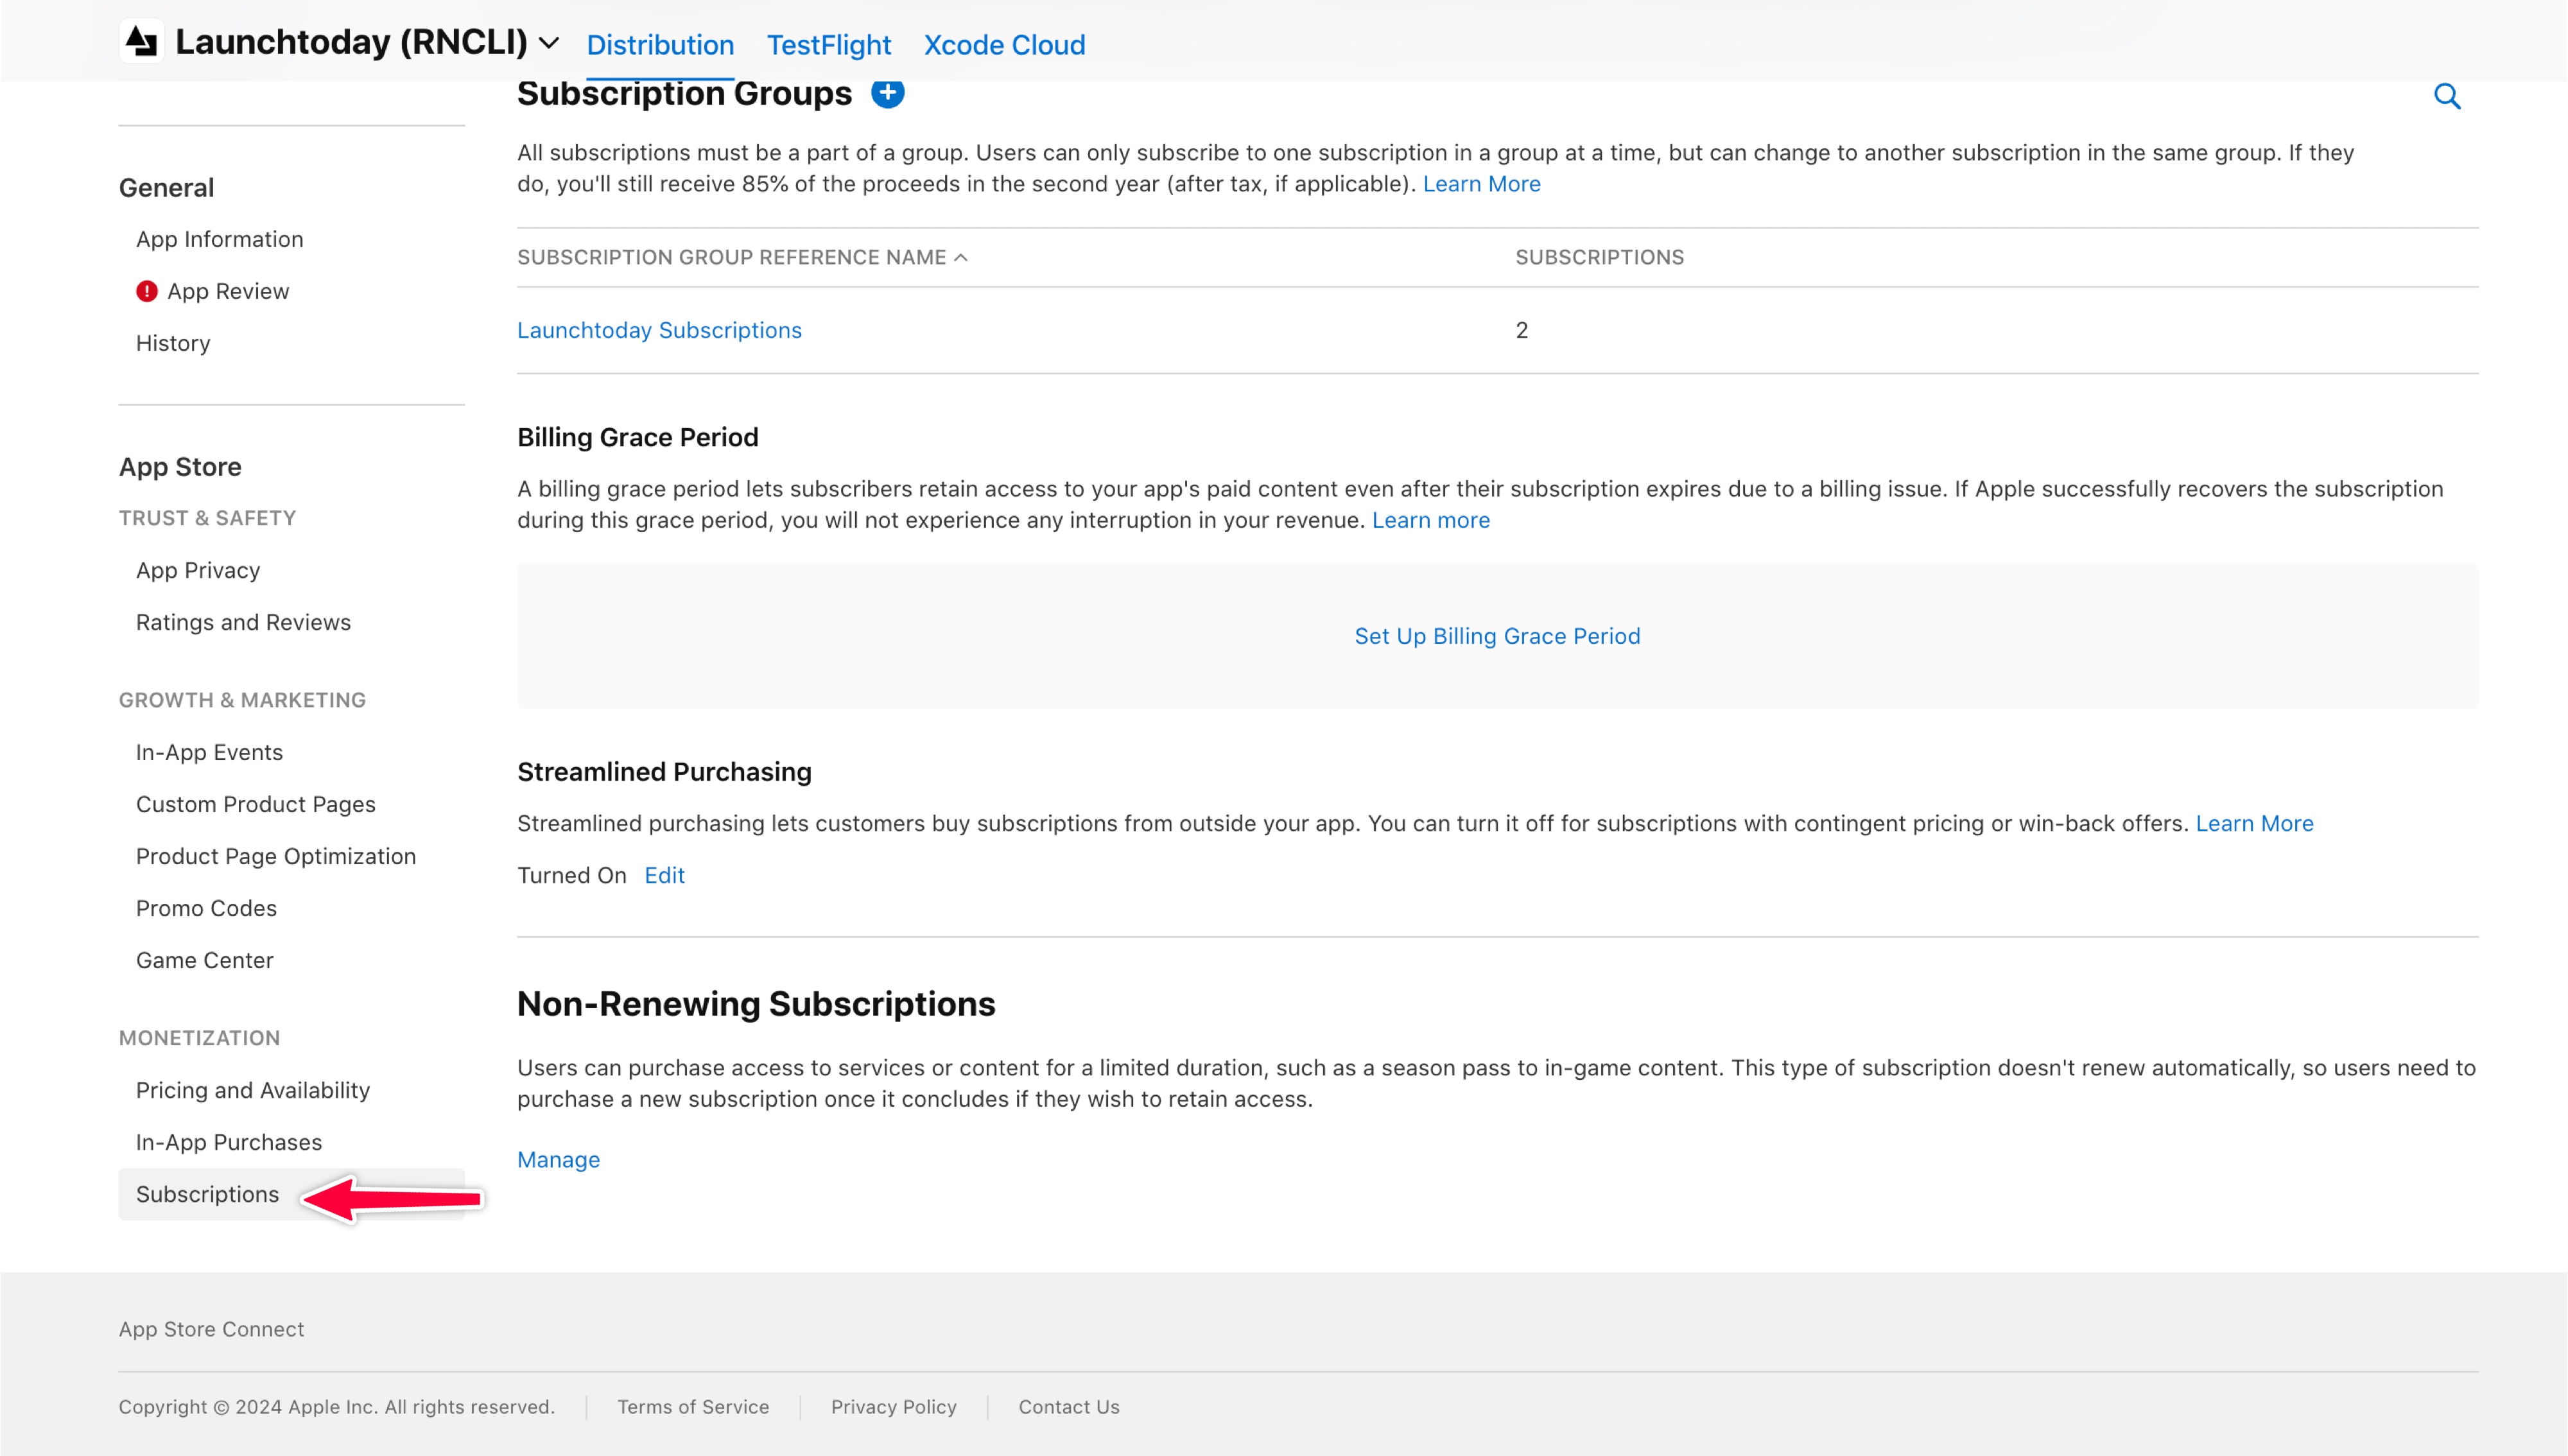
 Within your subscription group, you can create multiple subscription products with different durations or feature sets. When creating each subscription, you’ll need to configure the
Product ID (e.g. “sub_monthly_999”) and a Reference Name (Monthly $9.99 would suffice for this example).
Depending on your offering and pricing strategy, create a subscription for each tier you’d like to offer, either monthly or annually. You’ll need to configure the following details:
Within your subscription group, you can create multiple subscription products with different durations or feature sets. When creating each subscription, you’ll need to configure the
Product ID (e.g. “sub_monthly_999”) and a Reference Name (Monthly $9.99 would suffice for this example).
Depending on your offering and pricing strategy, create a subscription for each tier you’d like to offer, either monthly or annually. You’ll need to configure the following details:
- Subscription Duration: Choose the duration for your subscription. This can be monthly, annual, or custom durations like 3 or 6 months.
- Availability: Configure where your subscription will be available by selecting territories and setting any pre-order periods if desired.
- Subscription Prices: Set up your base price for the primary territory, configure territory-specific pricing, and add any promotional offers or future price changes.
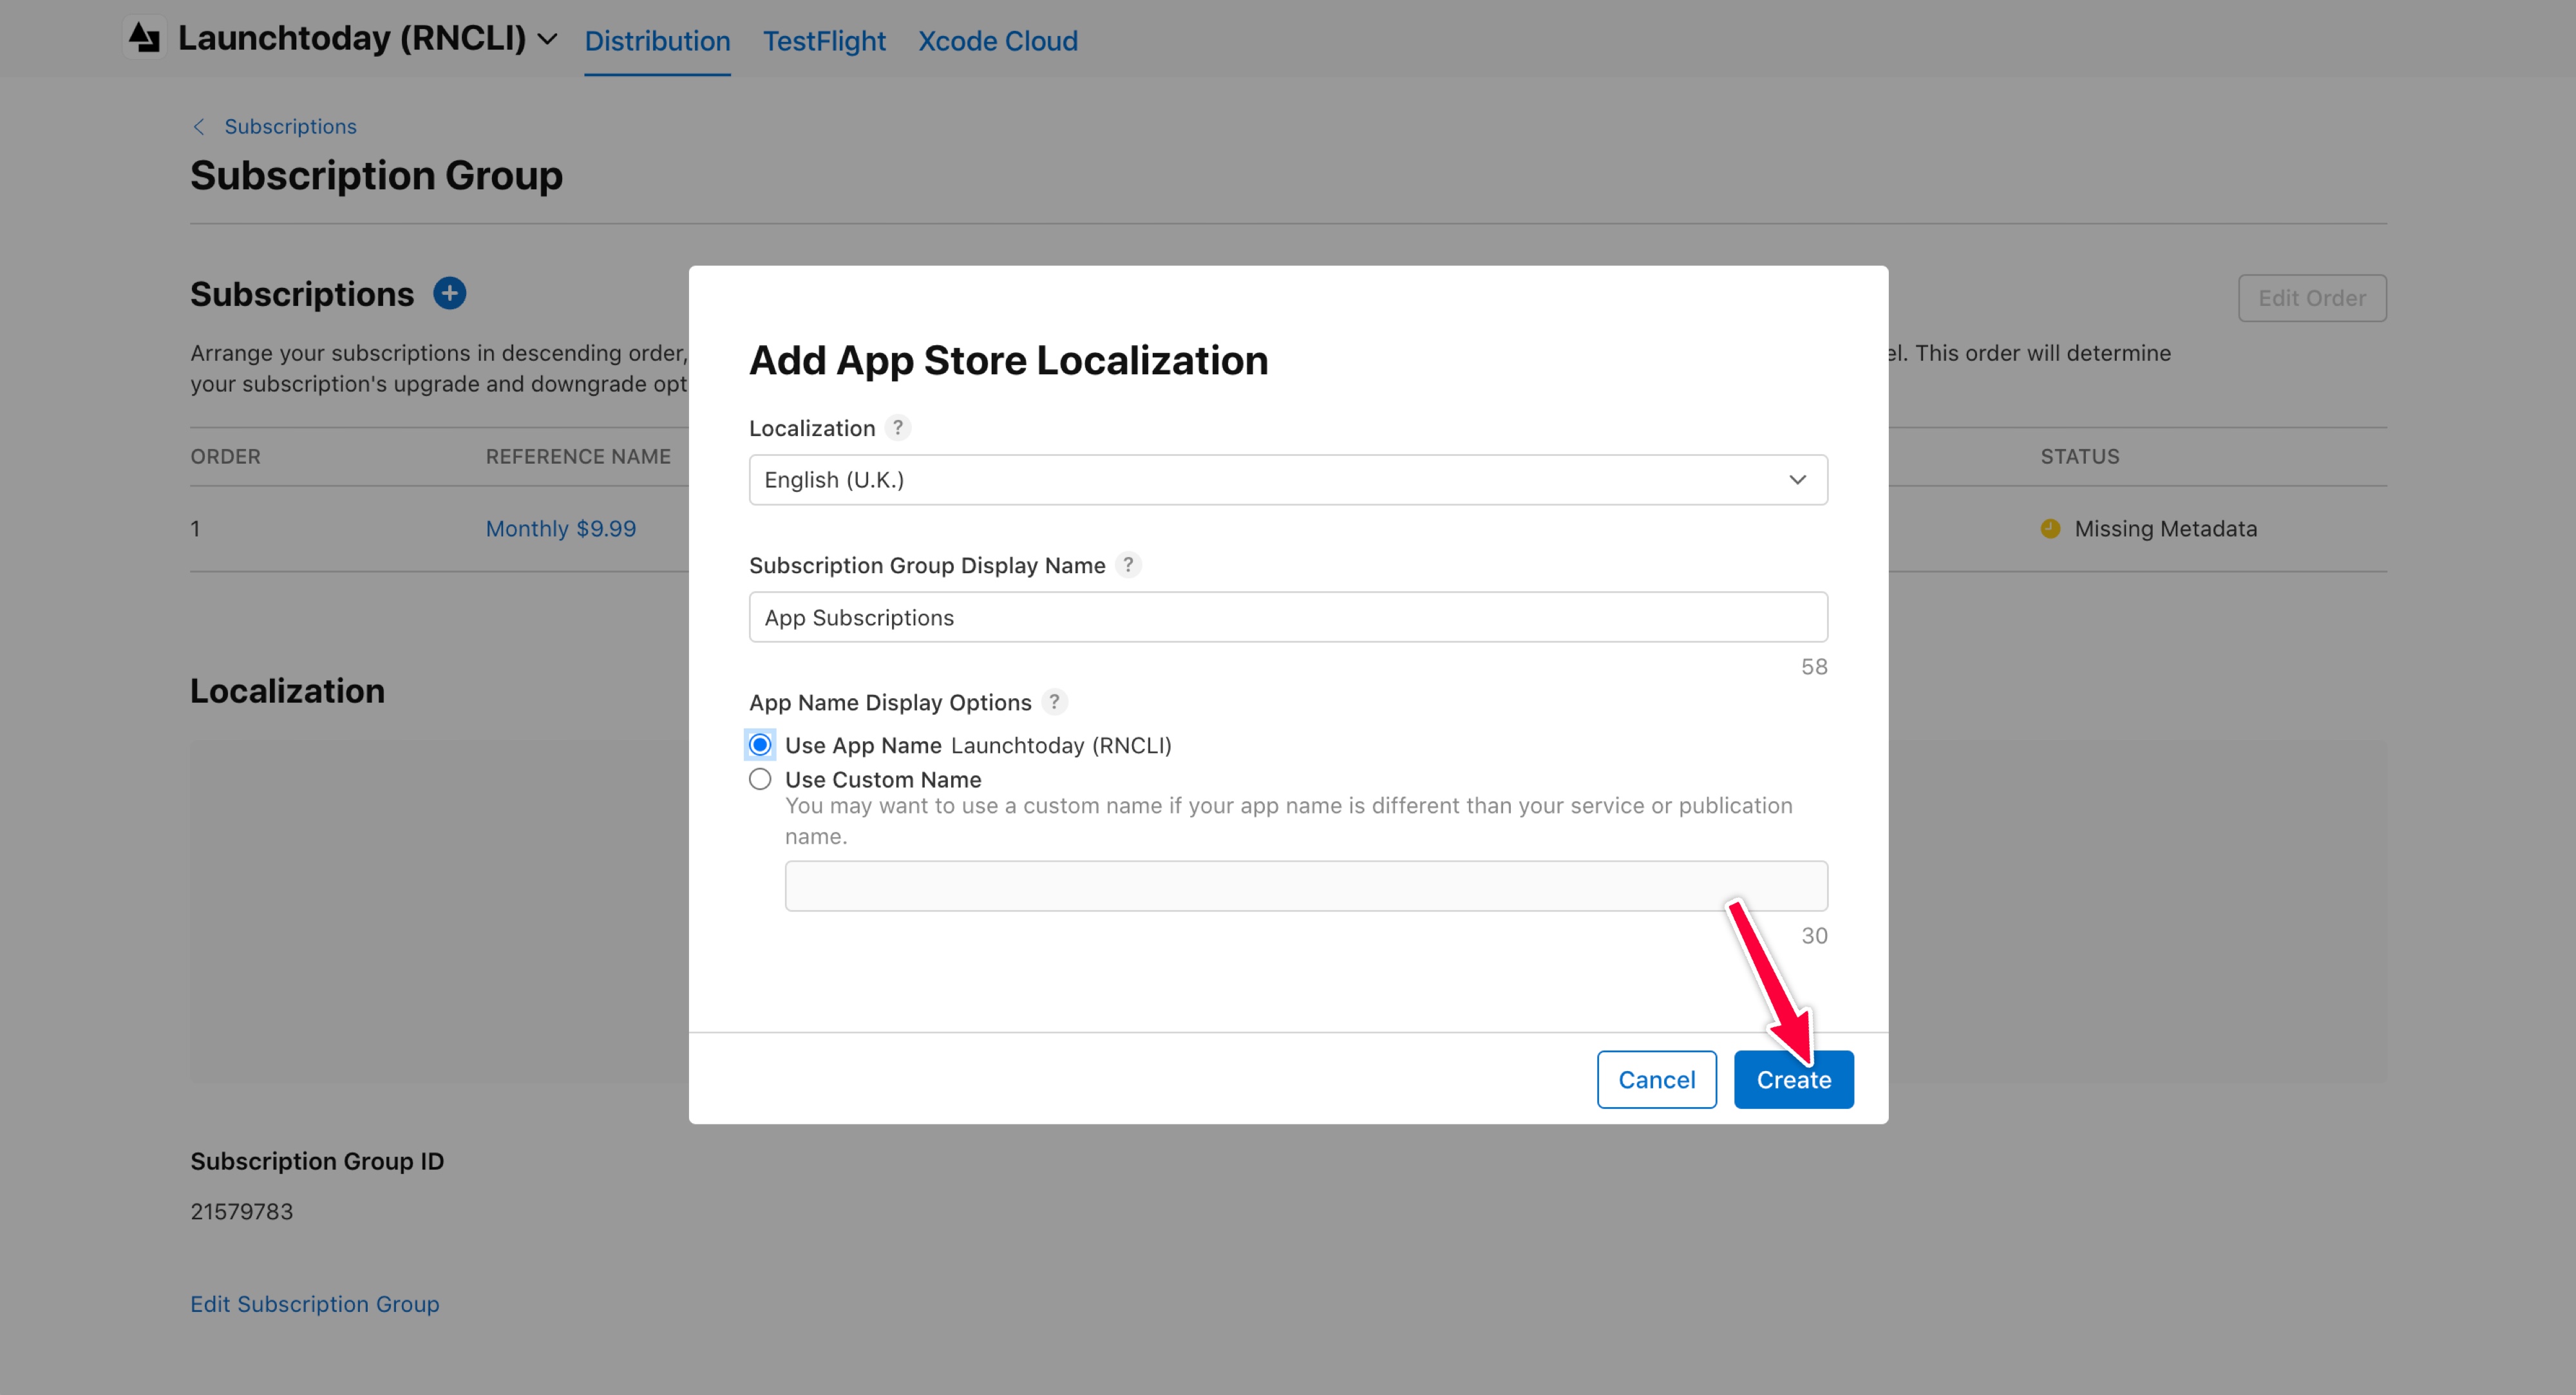
- Localization: Provide customer-facing text including a clear display name (like “Pro Monthly”), description of features, promotional text, preview media, and translations for all targeted regions.
- Review Information: Include test account credentials, any special setup instructions, demo accounts, validation steps, and contact information for the App Review team.
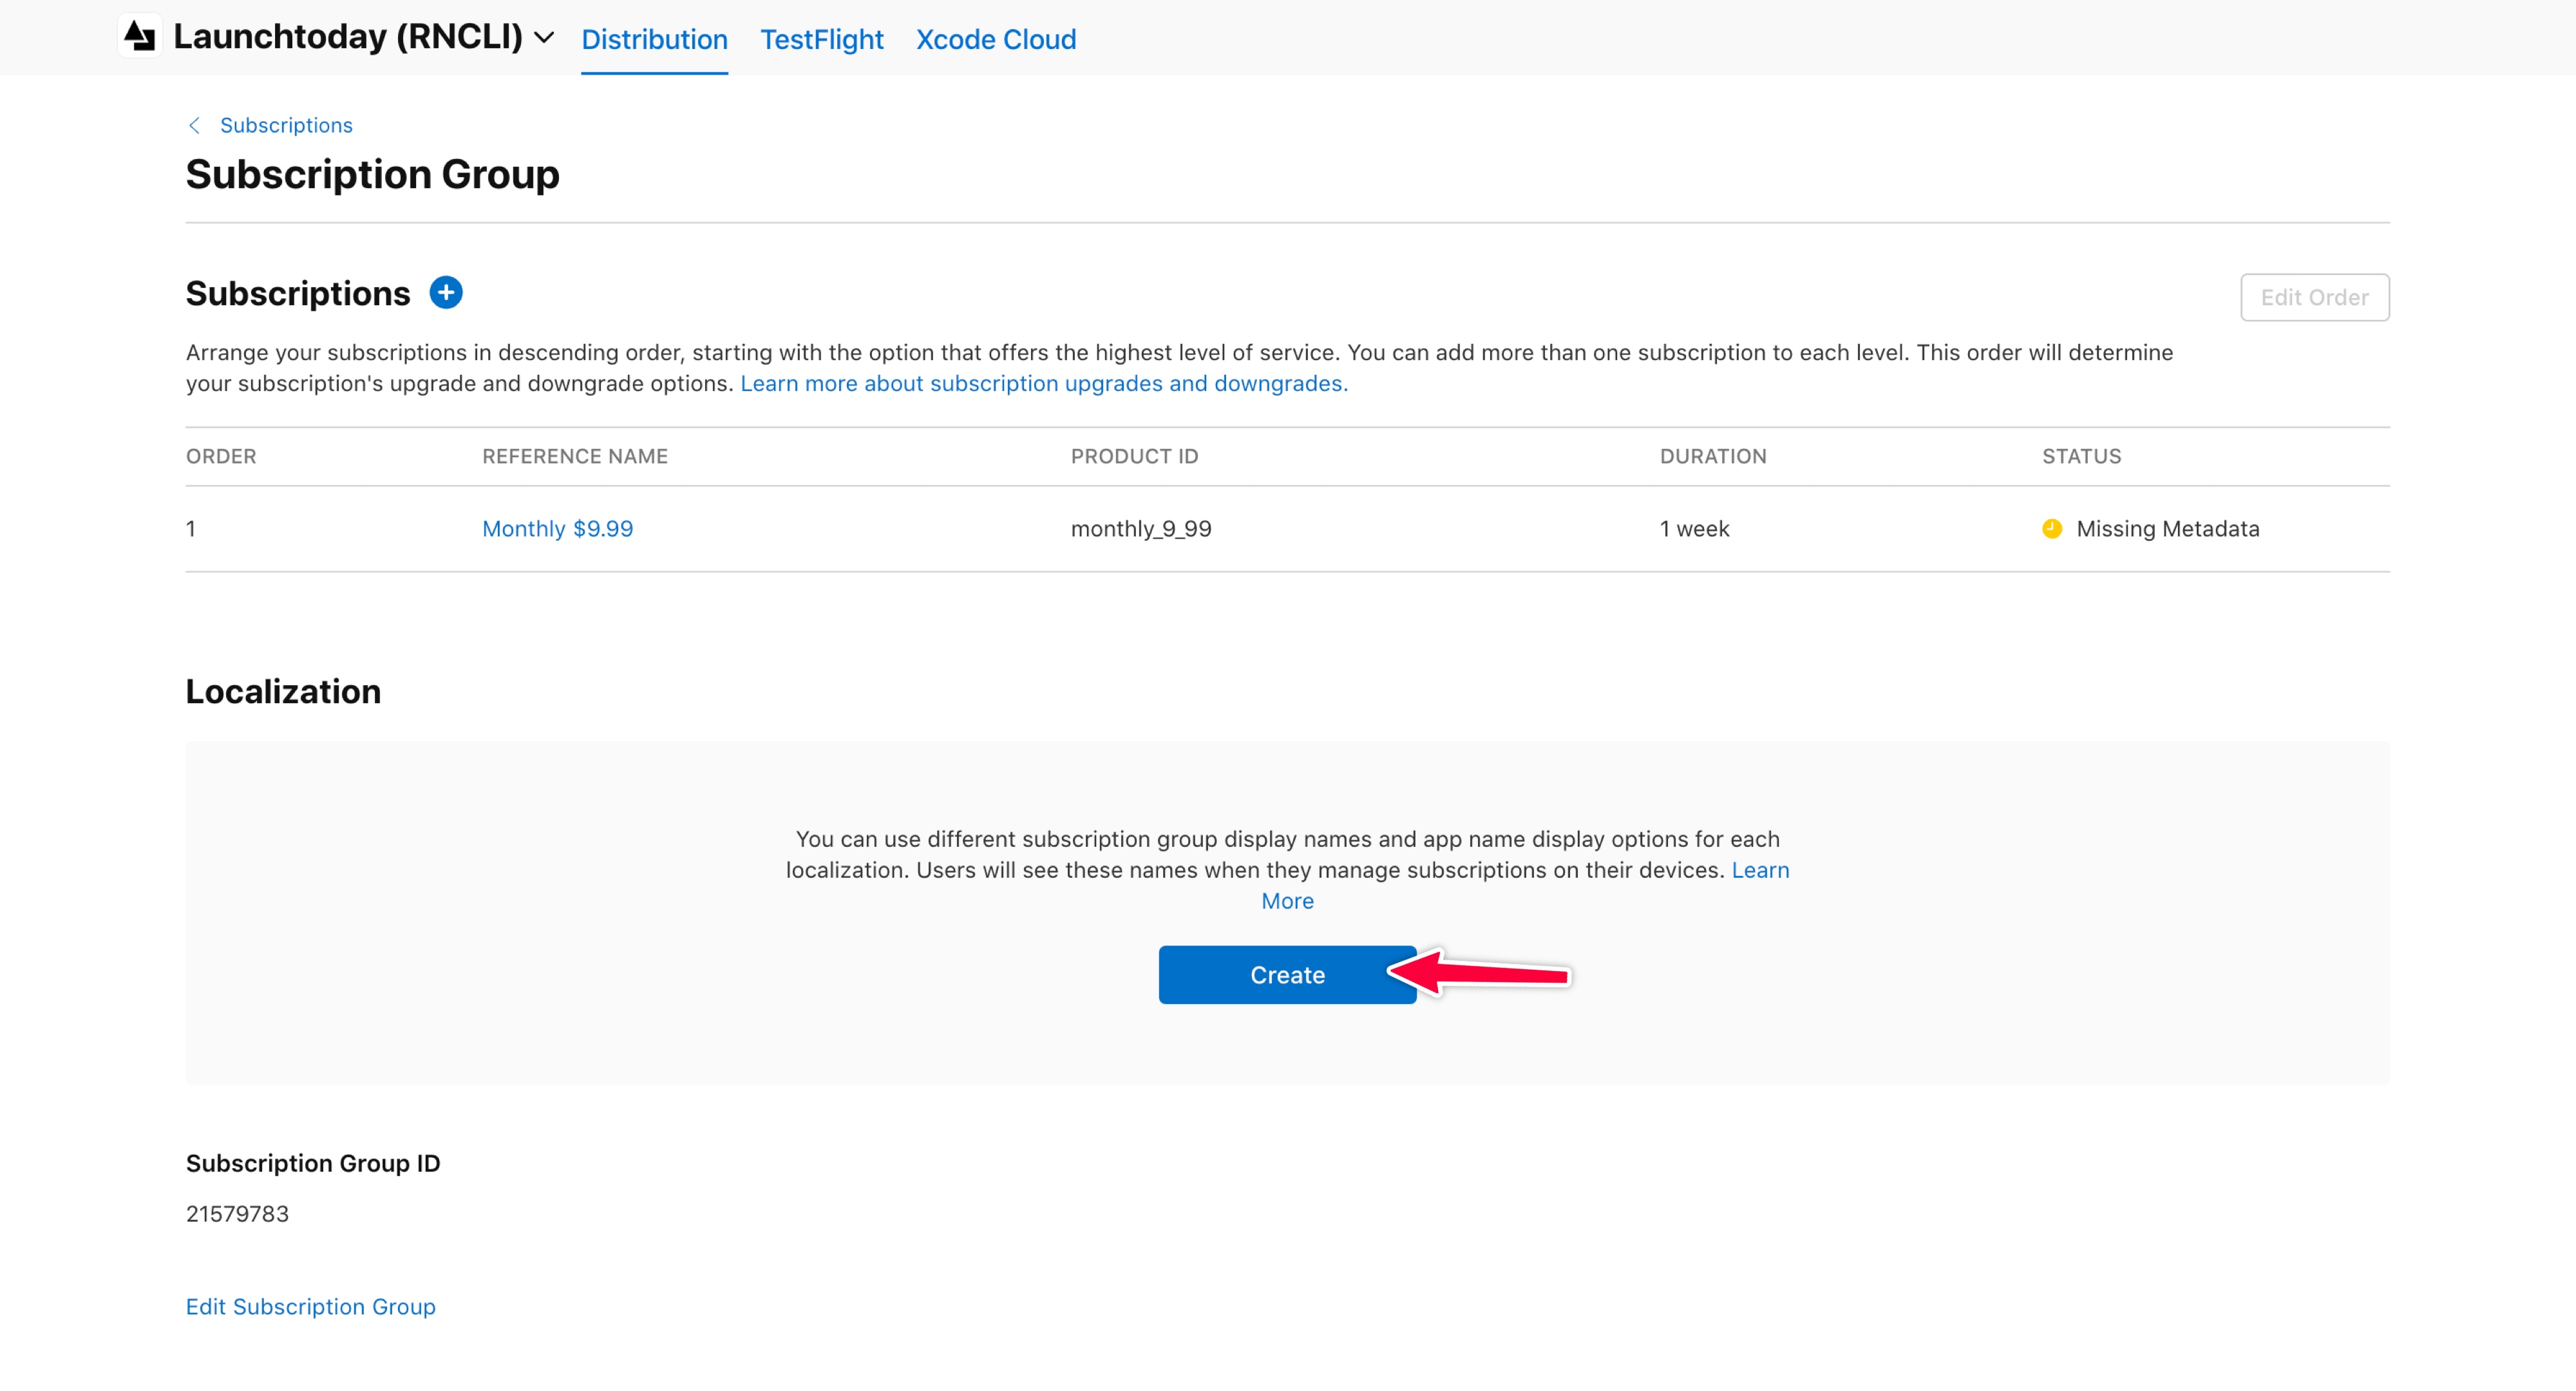
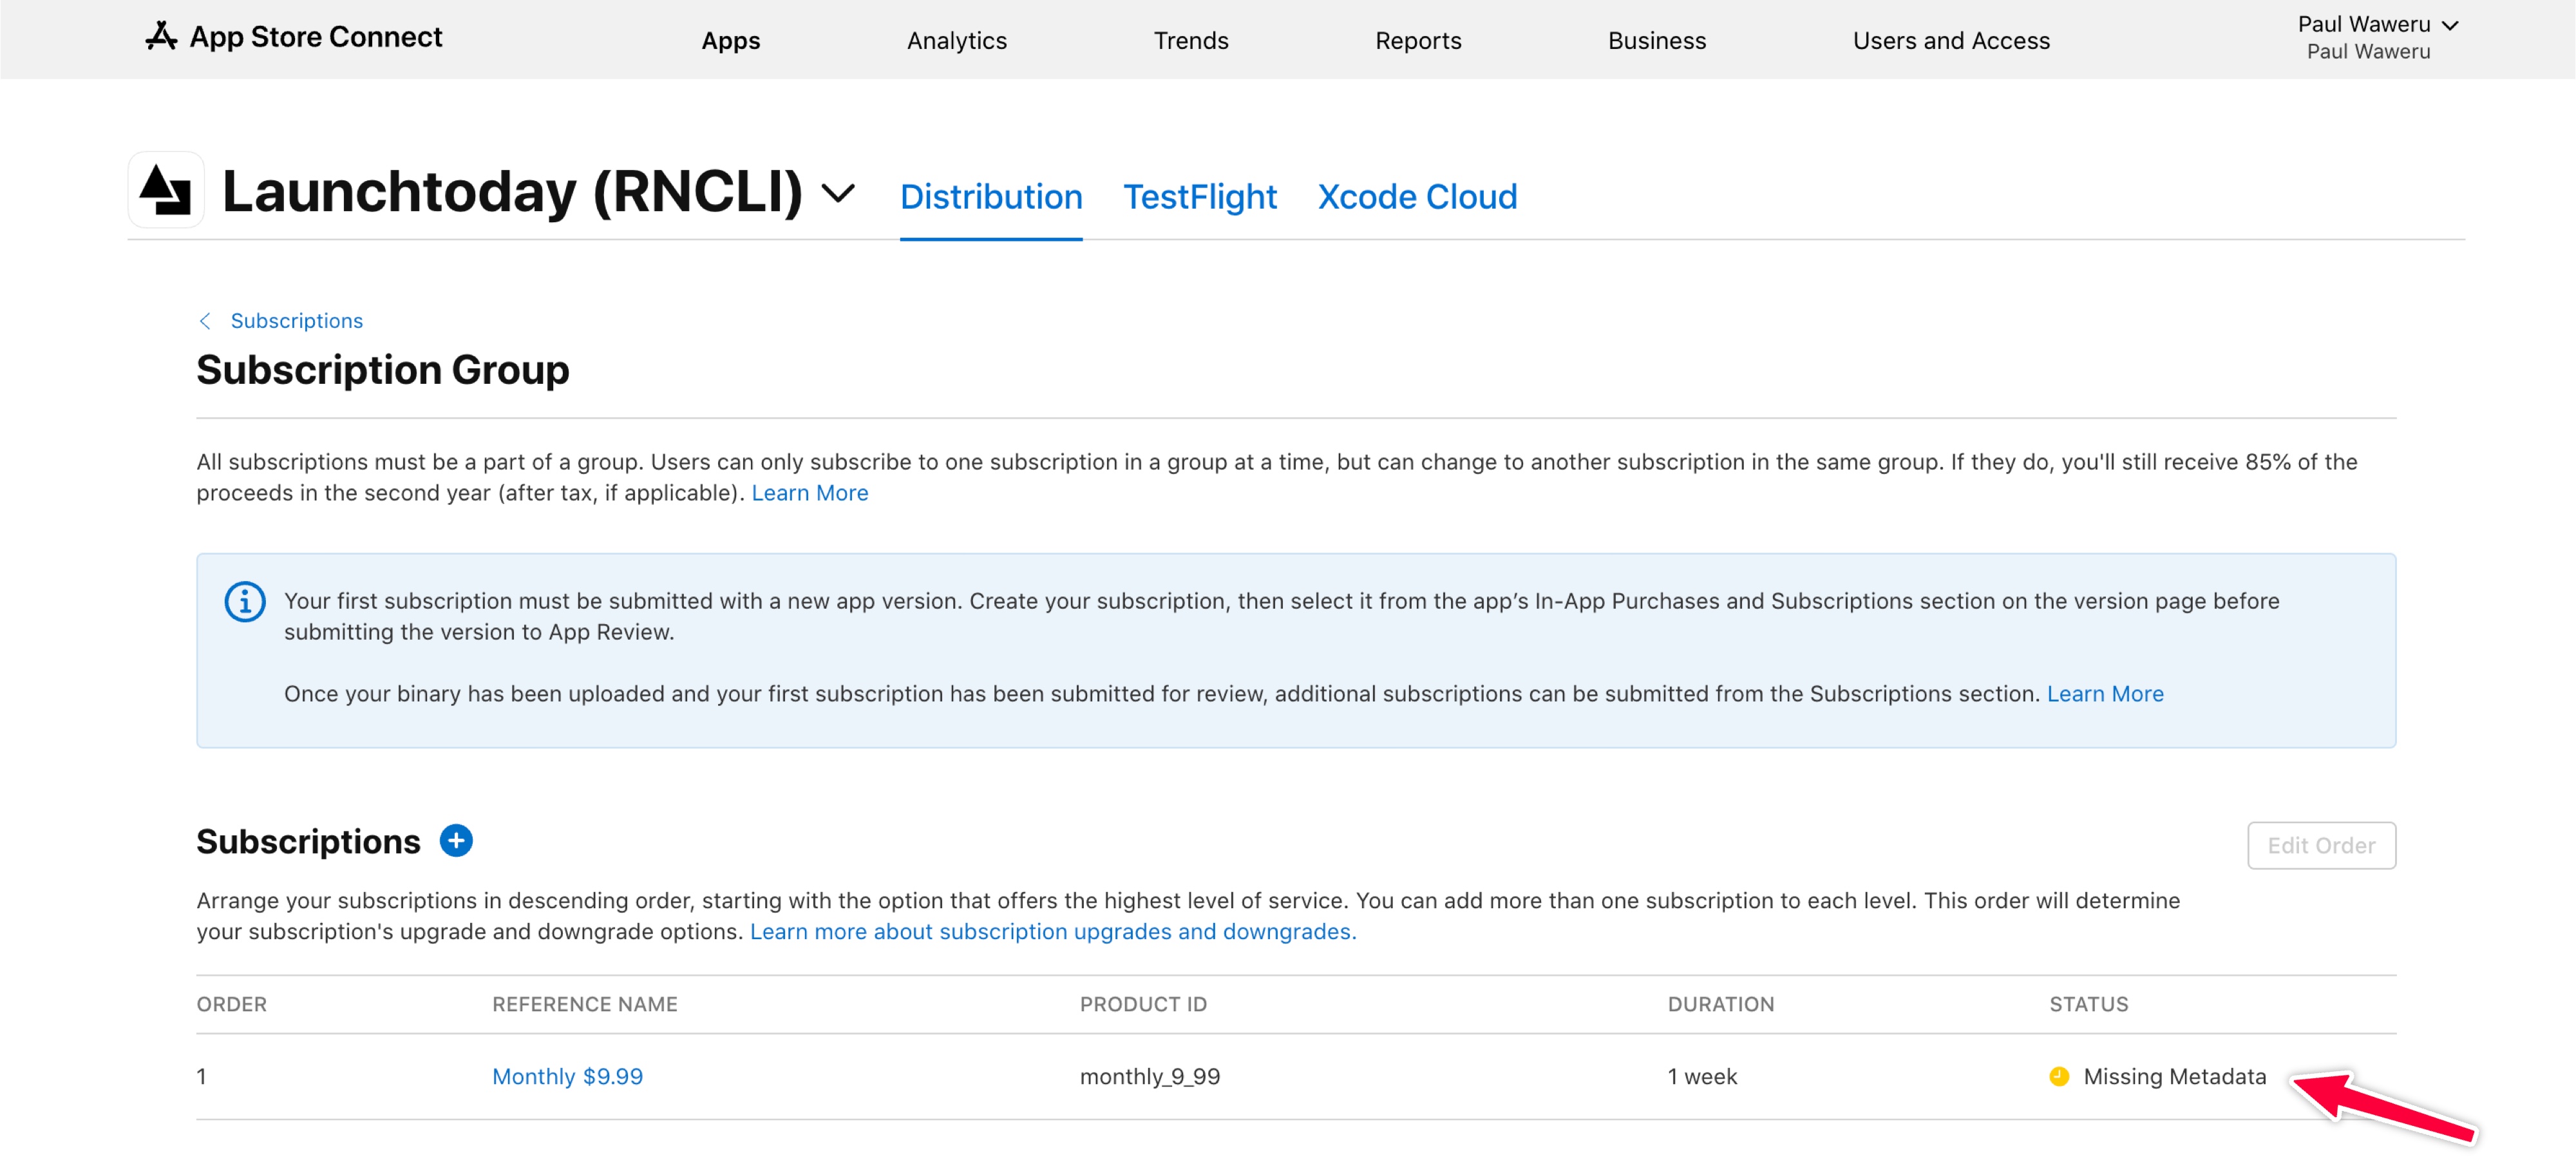 If you see a ‘Missing Metadata’ status for your subscription, you’ll need to add localization details for the subscription group. This can be found below the Subscriptions list as shown below:
 This concludes the setup for in-app purchases and subscriptions in App Store Connect. Next, we’ll cover creating in-app purchases and subscriptions in the Google Play Console.
You can also skip to setting up RevenueCat for your App Store Connect in-app purchases and subscriptions by clicking here.
This concludes the setup for in-app purchases and subscriptions in App Store Connect. Next, we’ll cover creating in-app purchases and subscriptions in the Google Play Console.
You can also skip to setting up RevenueCat for your App Store Connect in-app purchases and subscriptions by clicking here.