> ## Documentation Index
> Fetch the complete documentation index at: https://docs.launchtoday.dev/llms.txt
> Use this file to discover all available pages before exploring further.
# Start the Mobile App
> Install dependencies and run the mobile app
This guide assumes your backend is running locally.
## Prerequisites
* Backend running on `http://localhost:3001`
* `apps/mobile/.env` available
## Steps
## 1. Copy the Example Environment File
```bash theme={null}
cd apps/mobile
cp example.env .env
```
The example env already includes everything needed for a first run.
## 2. Install Dependencies
```bash theme={null}
cd ../..
pnpm install
cd apps/mobile
```
If you already ran `pnpm install` during backend setup, you can skip this step.
## 3. Set App Identity
Before you prebuild, update the app identity in `apps/mobile/app.config.ts`:
* `name` (this is the display name users see after install)
* `slug` (the internal Expo identifier, usually kebab-case)
* `ios.bundleIdentifier` and `android.package` (your app IDs)
Example:
* `name`: `Finance App`
* `slug`: `finance-app`
* `ios.bundleIdentifier`: `com.company.financeapp`
* `android.package`: `com.company.financeapp`
## 4. Prebuild
Before prebuild, set your bundle ID in `apps/mobile/app.config.ts` (the file
ships with a placeholder). This should match your Apple/Google identifiers
before you generate native projects.
```bash theme={null}
pnpm prebuild
```
You will be prompted to set your bundle ID during prebuild.
If you see a warning about uncommitted changes, it is safe to continue for this
step.
## 5. Run the App
```bash theme={null}
pnpm ios
pnpm android
```
Choose either iOS or Android. You can run on a simulator or a physical device.
For iOS, a physical device on the same Wi‑Fi network is supported.
When you run these commands, you'll be prompted to pick a simulator or device.
If your device is on the same Wi‑Fi, you should see it in the list; otherwise
you'll see available simulators/emulators. If no simulators appear, set up your
platform tools first:
* iOS: install Xcode and the iOS Simulator
* Android: install Android Studio and create an emulator
Some integrations (like RevenueCat and push notifications) require a physical
device and a development build. Expo Go will not support them.
## Success Check
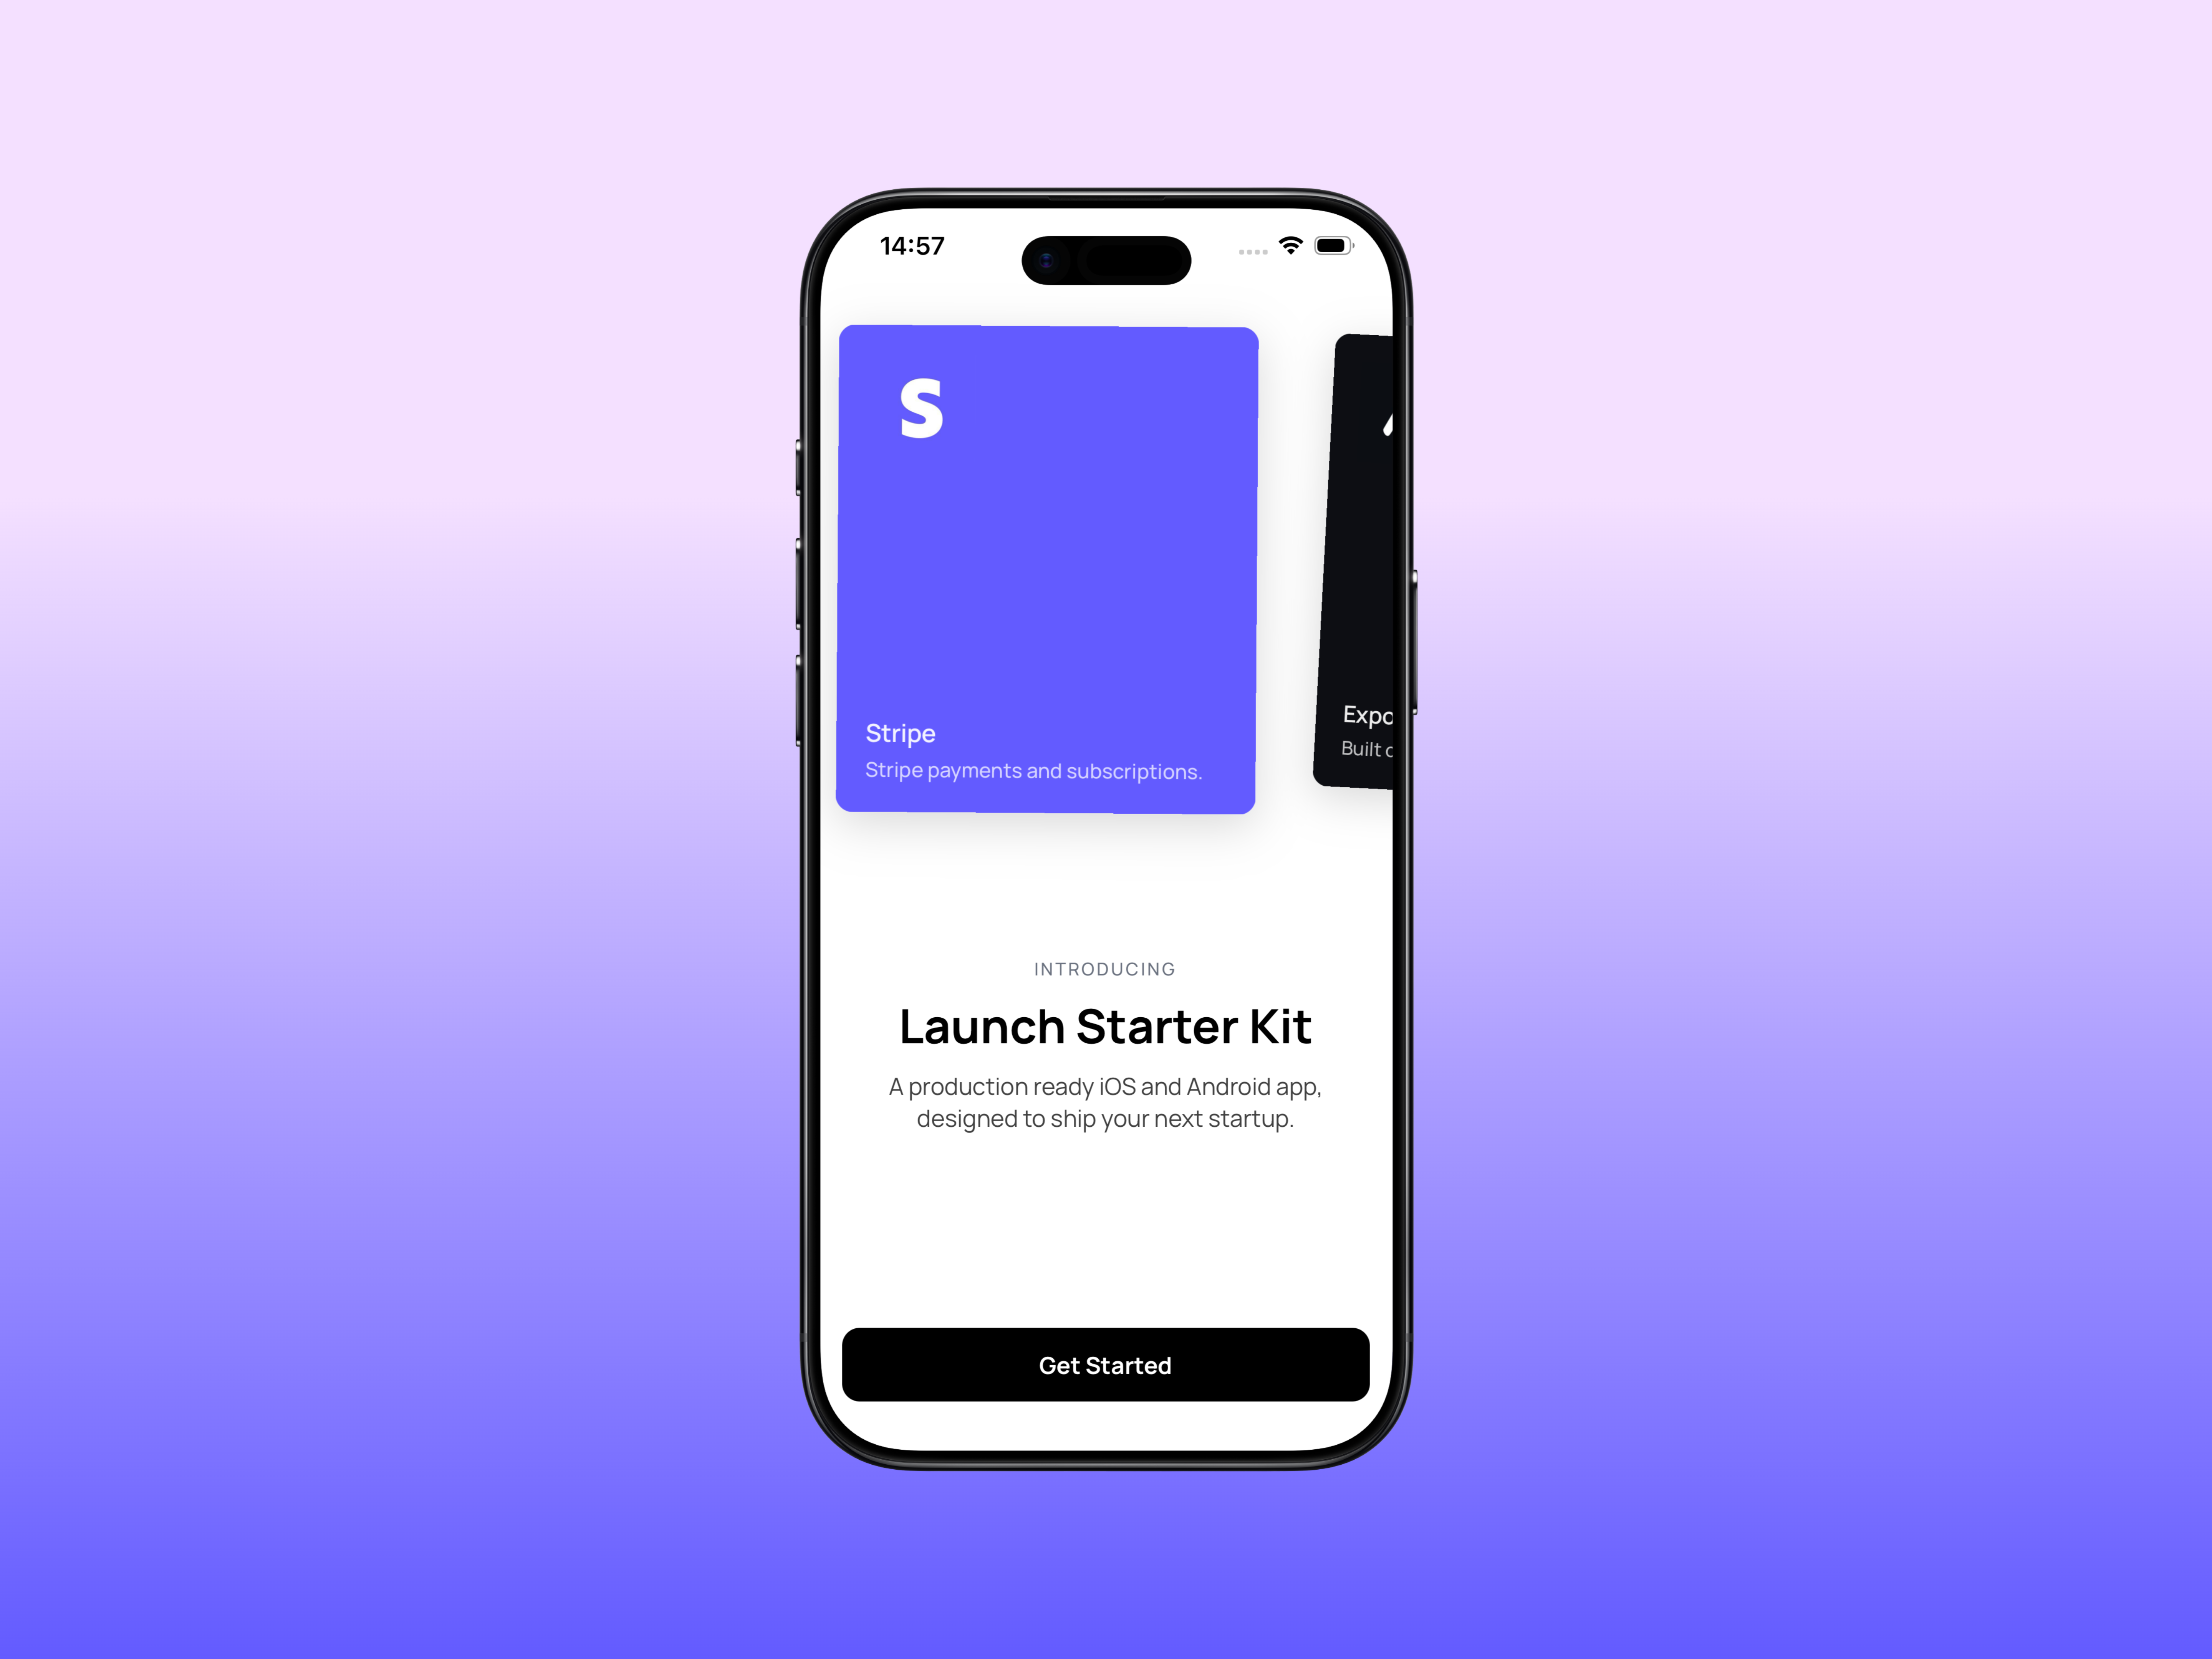
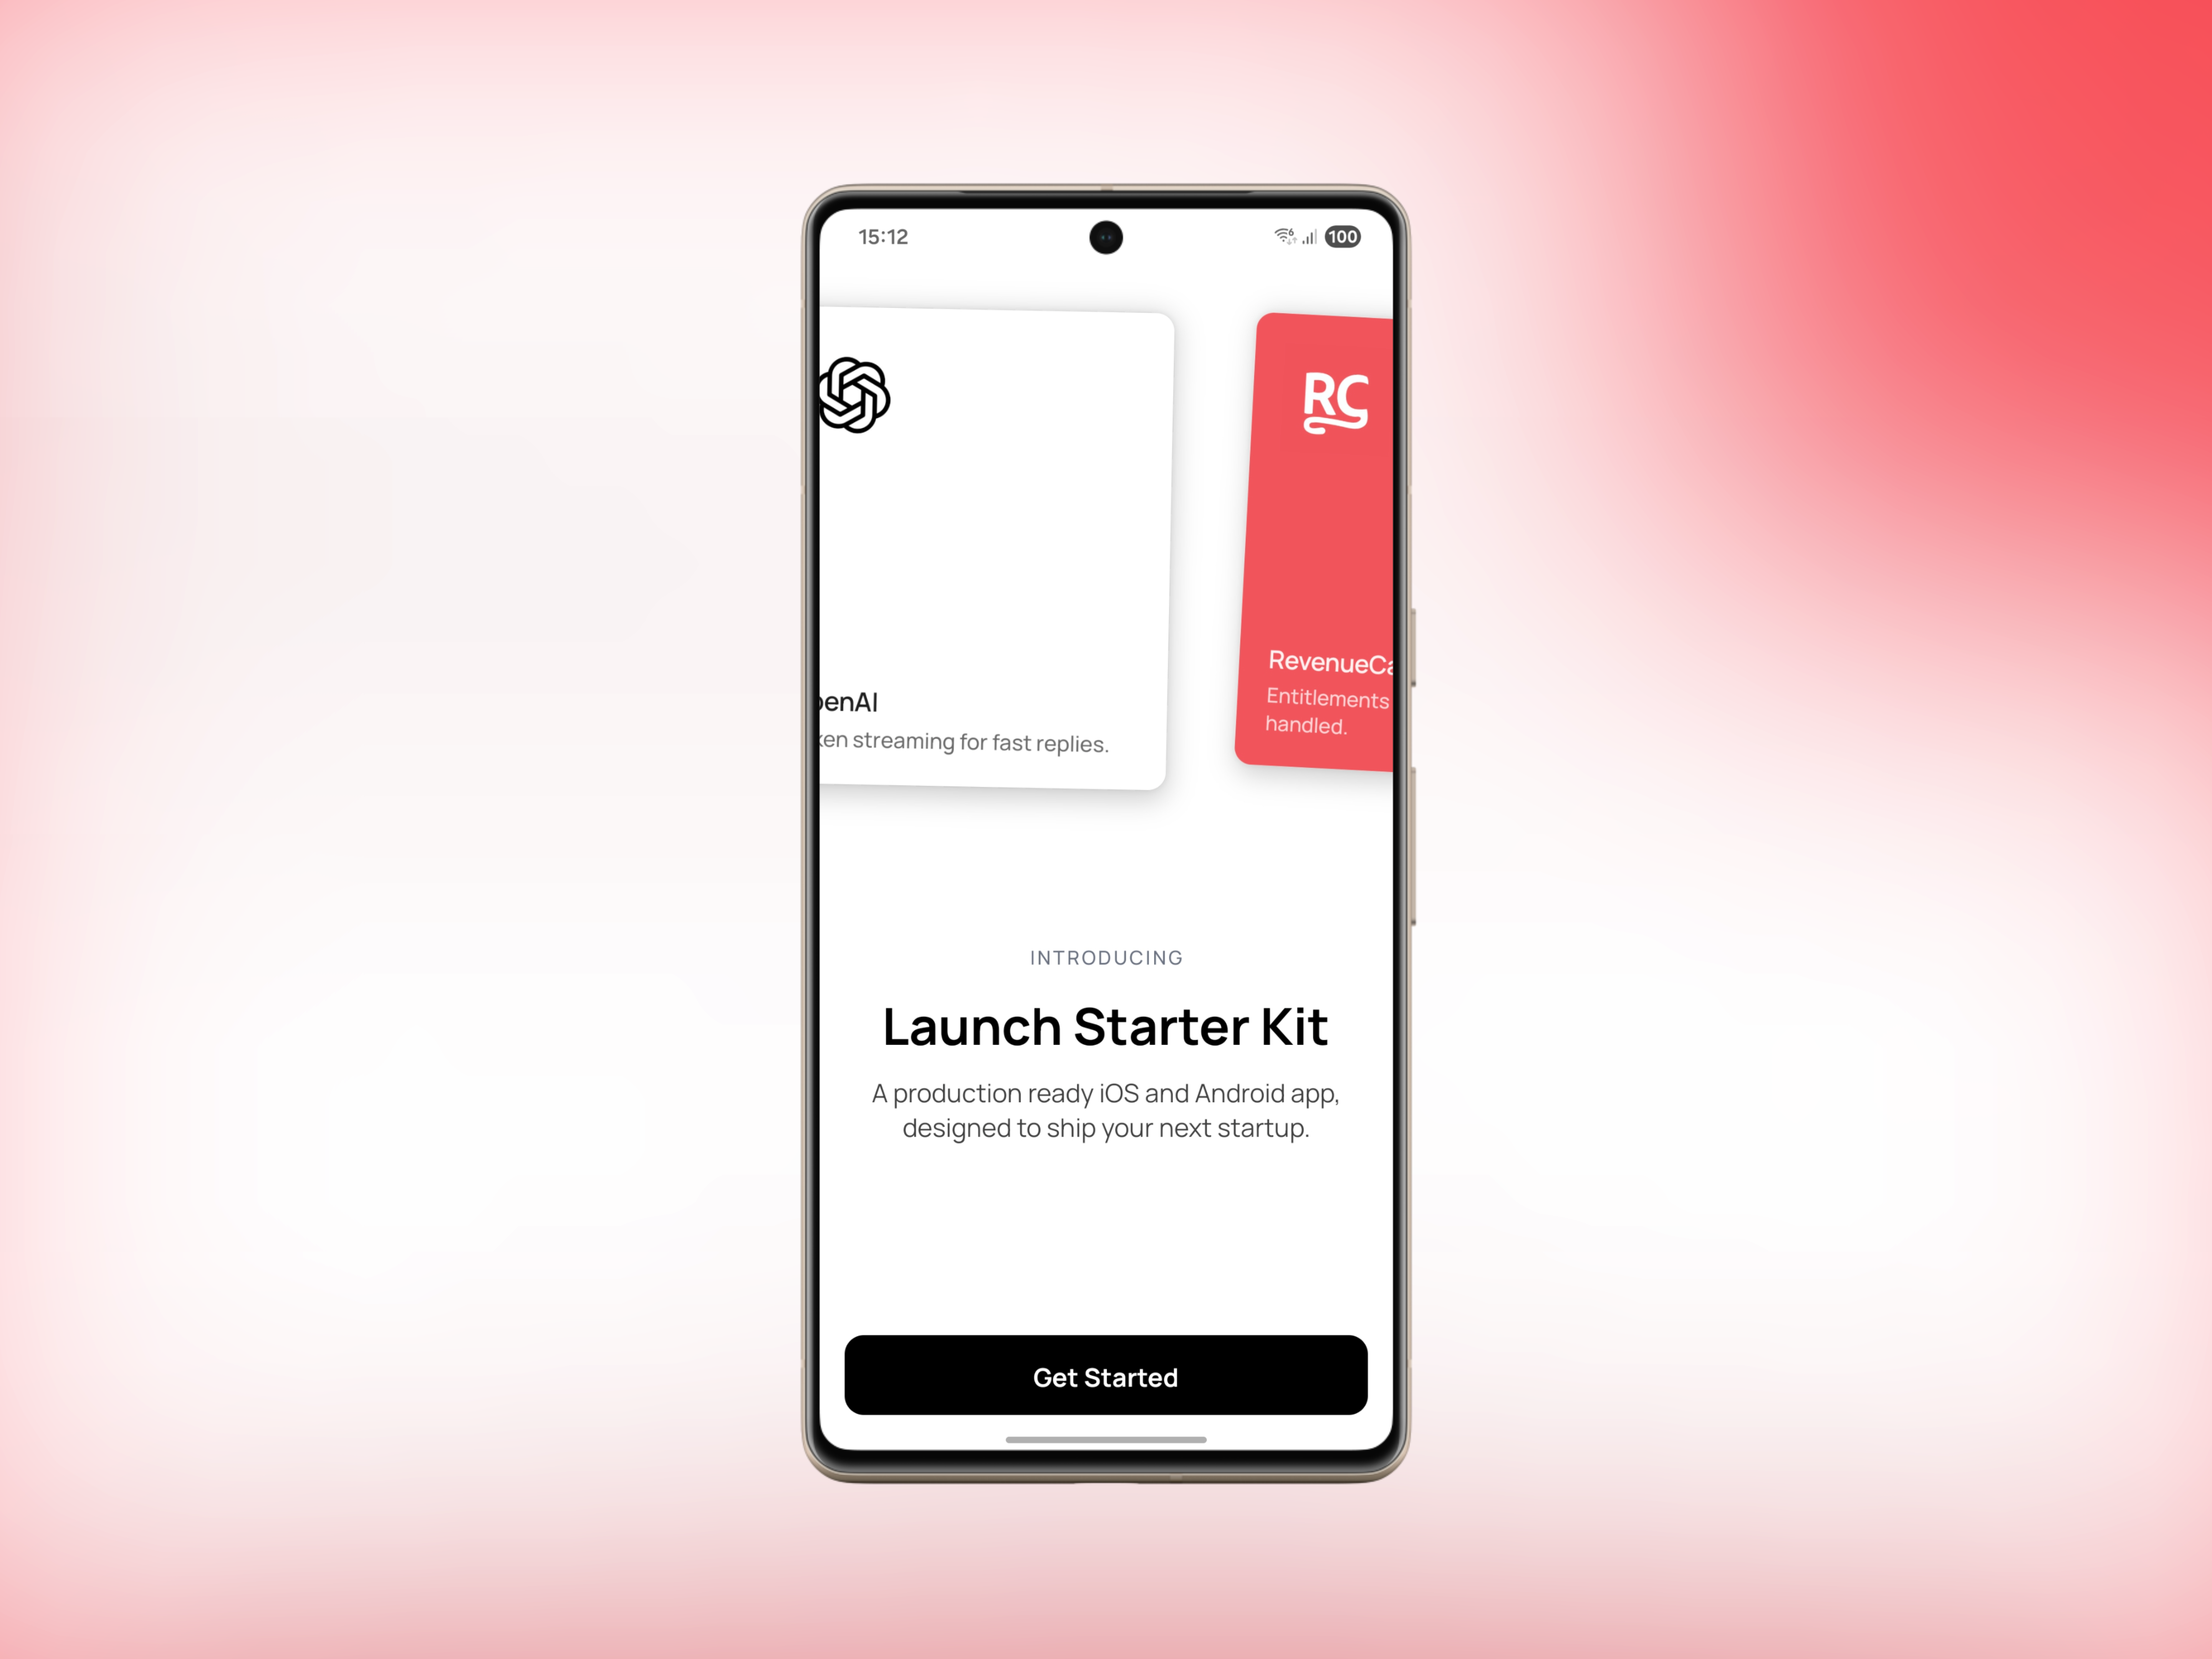
You should see the Launch onboarding flow on first run.
During build, a good sign is seeing logs like:
```
› Using --device
› Signing and building iOS app with: Apple Development: ()
› Planning build
```
If you're on iOS, you should see:
 If you're on Android, you should see:
 ## Troubleshooting
* **Auth or notifications warnings**: safe to ignore during initial setup if
those plugins are commented out in `apps/mobile/app.config.ts`. Enable them
later when you reach the auth or push guides.
* **Bundle ID not available**: pick a unique `ios.bundleIdentifier` and
`android.package` (e.g. `com.yourcompany.myapp`) and rerun prebuild.
* **Android package name invalid**: use only letters/numbers with dots
separating segments, and make sure each segment starts with a letter (e.g.
`com.company.financeapp`).
## Next Steps
* [Project Structure](/project-structure)
* [Authentication Setup](/authentication/backend-setup)
## Troubleshooting
* **Auth or notifications warnings**: safe to ignore during initial setup if
those plugins are commented out in `apps/mobile/app.config.ts`. Enable them
later when you reach the auth or push guides.
* **Bundle ID not available**: pick a unique `ios.bundleIdentifier` and
`android.package` (e.g. `com.yourcompany.myapp`) and rerun prebuild.
* **Android package name invalid**: use only letters/numbers with dots
separating segments, and make sure each segment starts with a letter (e.g.
`com.company.financeapp`).
## Next Steps
* [Project Structure](/project-structure)
* [Authentication Setup](/authentication/backend-setup)